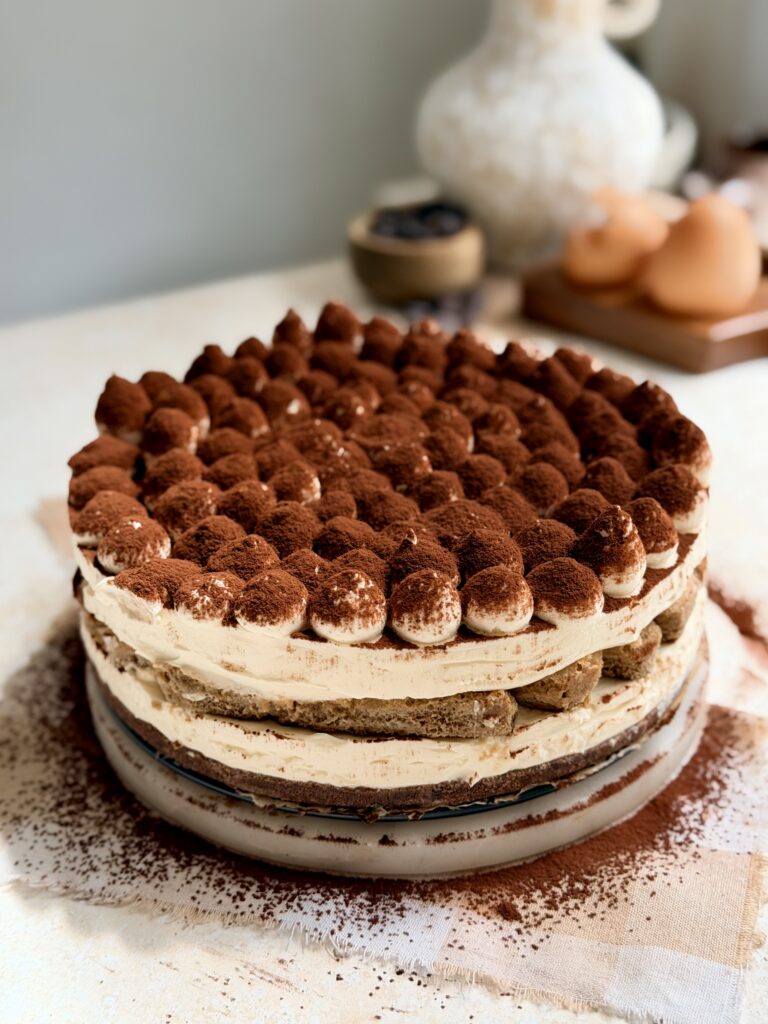
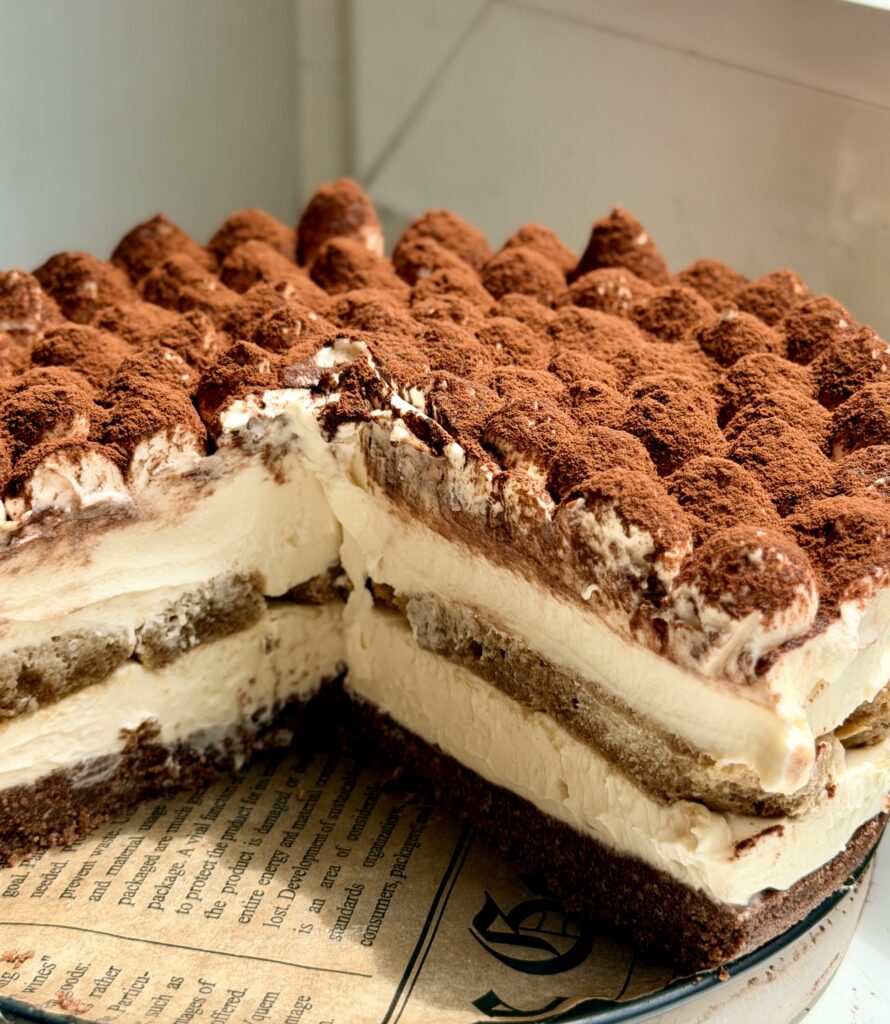
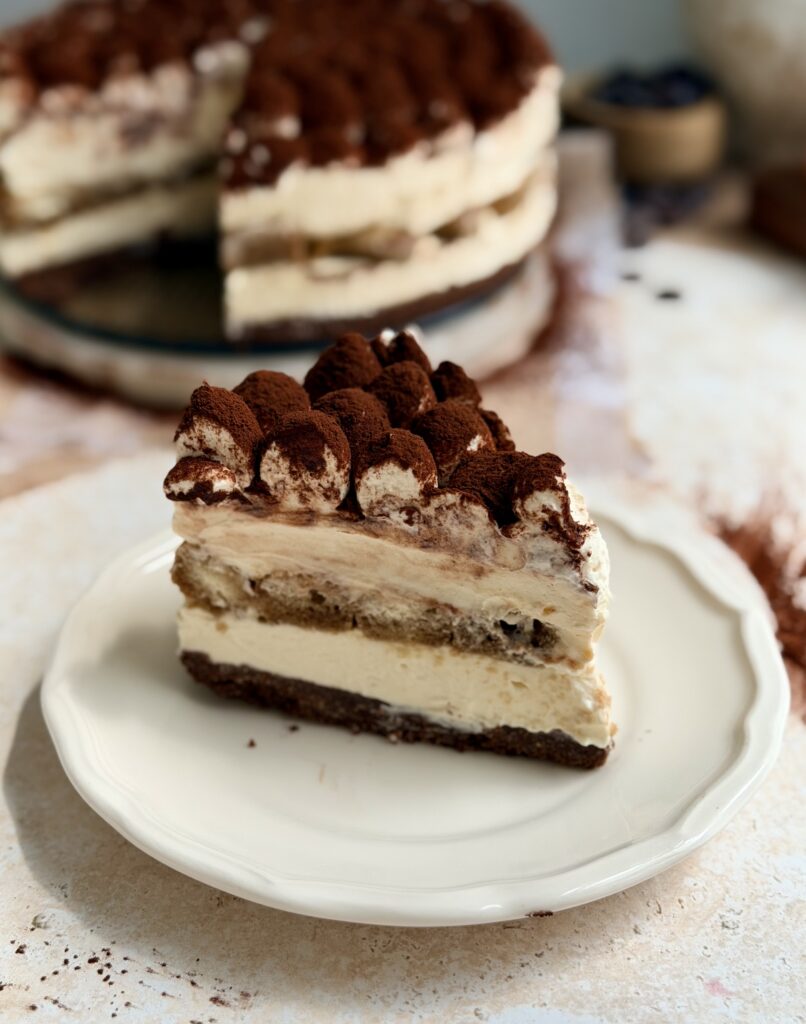
This No Bake Tiramisu Cheesecake combines two classic desserts into one irresistible treat. Featuring a rich chocolate biscuit base, a silky mascarpone cream cheese filling, coffee-soaked ladyfingers, and a generous dusting of cocoa powder, this easy no-bake dessert delivers all the flavours of traditional tiramisu in a creamy cheesecake form. Perfect for holidays, dinner parties, or whenever you’re craving an elegant make-ahead dessert.
Why you will love this recipe?
If you love both cheesecake and classic tiramisu, this dessert gives you the best of both worlds. The buttery chocolate biscuit base provides the perfect foundation for a light yet creamy mascarpone cheesecake filling, while the layer of coffee-soaked ladyfingers brings the unmistakable flavour of traditional tiramisu. Since there’s no baking required, it’s incredibly easy to prepare ahead of time, making it ideal for celebrations, holidays, birthdays, or dinner parties. Every slice is smooth, rich, beautifully layered, and finished with whipped cream and cocoa powder for an elegant café-style presentation.
Expert Tips for Best Results!
- Use full-fat dairy – Full-fat cream cheese, mascarpone, and heavy cream provide the richest flavour and help the cheesecake set beautifully.
- Don’t over-soak the ladyfingers – A quick dip in the coffee is all they need. Over-soaking can make the middle layer too soft and difficult to slice.
- Use cold whipping cream – Cold cream whips faster and produces a stable filling and topping that hold their shape beautifully.
- Dust cocoa just before serving – Adding the cocoa powder immediately before serving keeps it looking fresh and prevents moisture from darkening the surface.
- Storage tips – Store the cheesecake covered in the refrigerator for up to 4 days. It can also be frozen without the whipped cream topping for up to 2 months. Thaw overnight in the refrigerator before decorating and serving.
How to make No Bake Tiramisu Cheesecake?
The detailed recipe is included in the Full Recipe below. The following pictures and instructions will help you understand the process better visually.
Step 1: Prepare the Chocolate Biscuit Base
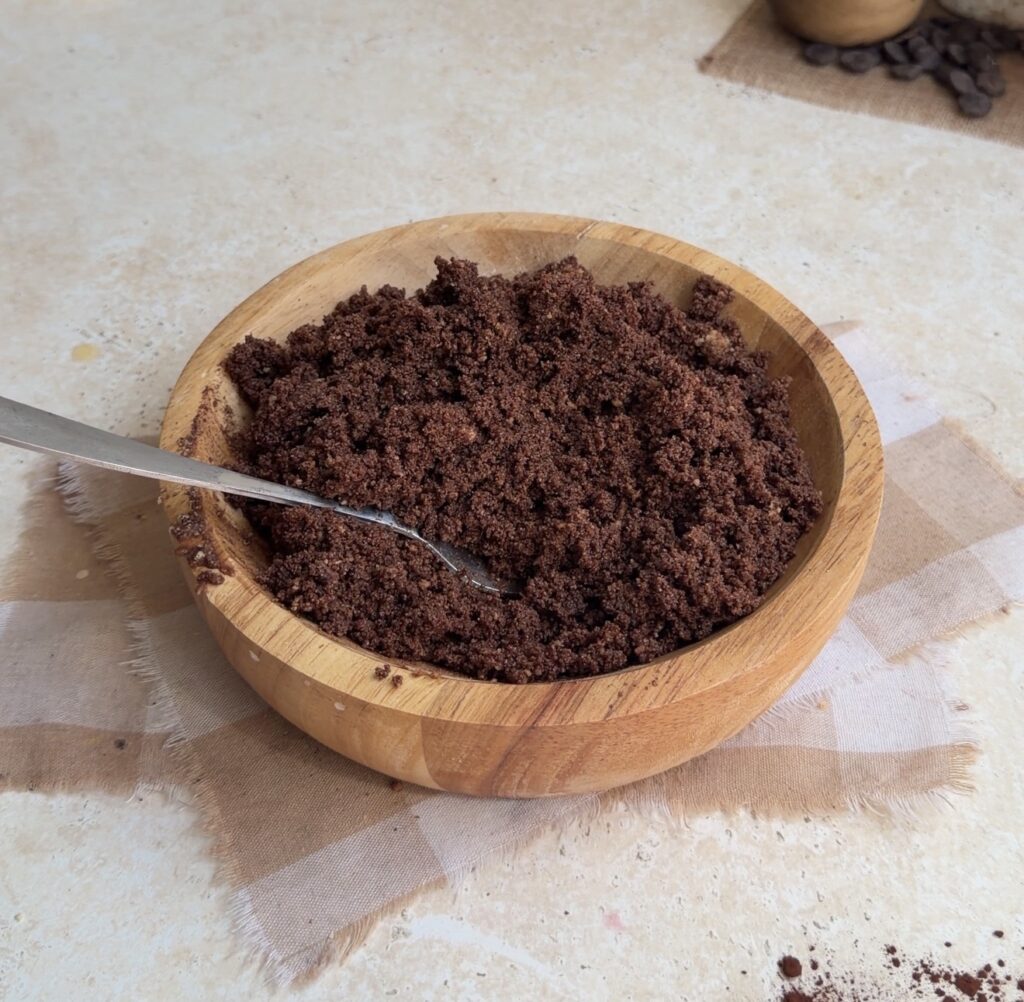
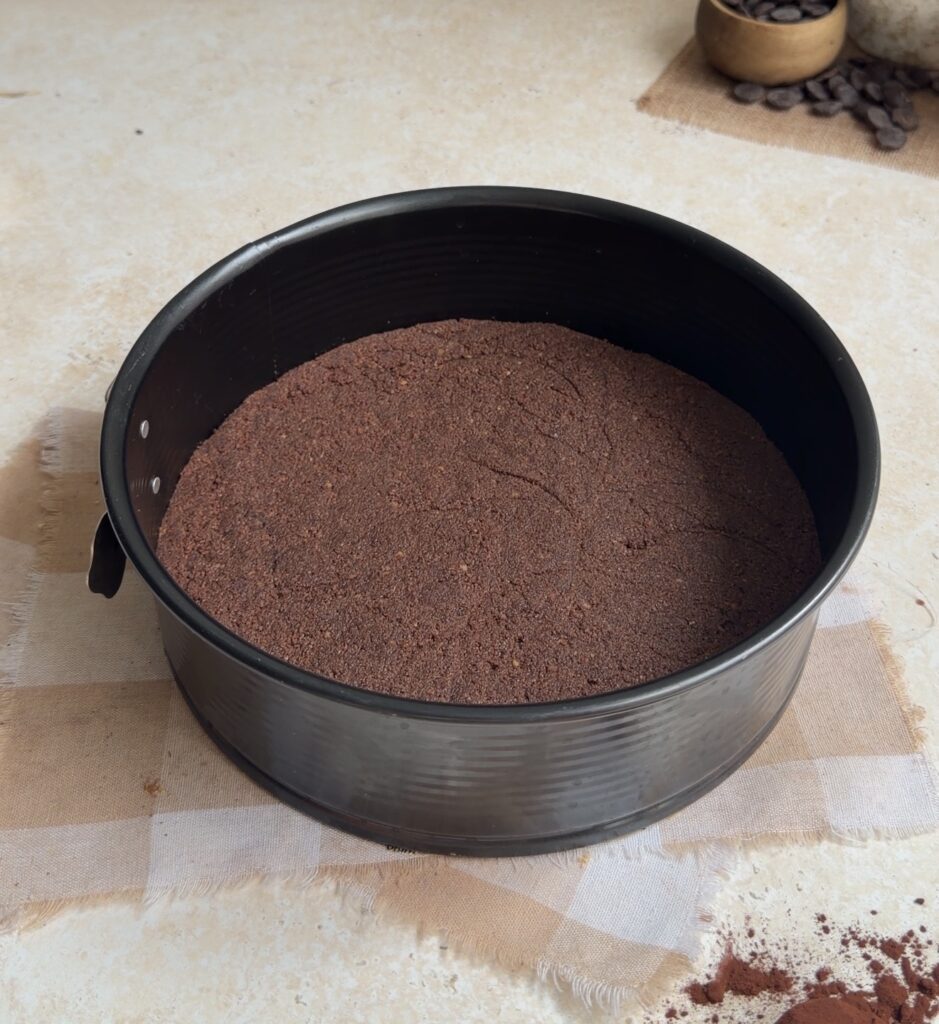
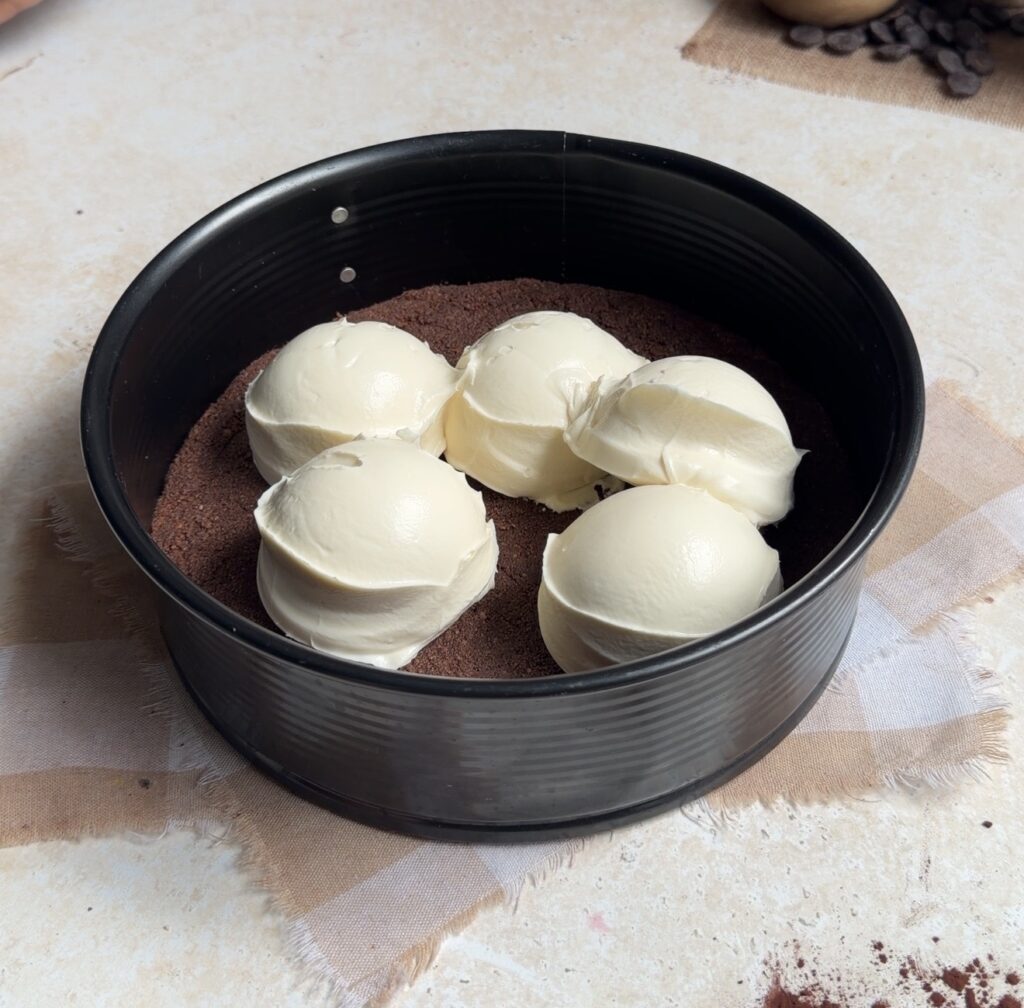
Line the base of an 8-inch (20 cm) springform pan with parchment paper. In a mixing bowl, combine the crushed digestive biscuits, cocoa powder, and a pinch of salt if using. Add the melted butter and mix until every crumb is evenly coated and resembles wet sand. Press the mixture firmly into the base of the pan using the back of a spoon or measuring cup to create an even crust. Refrigerate while preparing the filling.
Step 2: Make the Creamy Cheesecake Filling
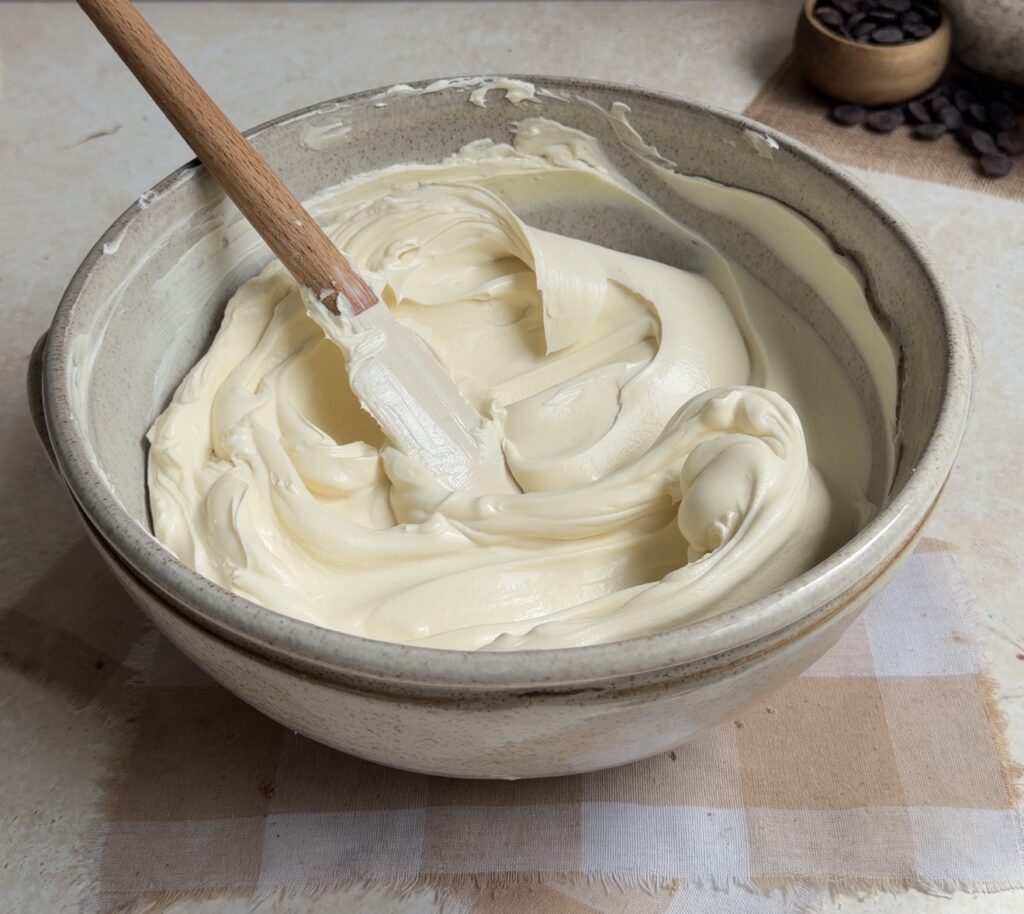
Beat the softened cream cheese until smooth and creamy with no lumps. Add the mascarpone cheese, powdered sugar, and vanilla paste, then mix until fully combined. Pour in the cold heavy whipping cream and continue beating until the mixture becomes thick, fluffy, and holds stiff peaks. The filling should be light, smooth, and easy to spread.
Step 3: Prepare the Coffee Mixture
Dissolve the instant coffee in hot water and allow it to cool slightly. The coffee should be strong enough to give the ladyfingers their classic tiramisu flavour while remaining smooth and easy to dip.
Step 4: Assemble the Cheesecake
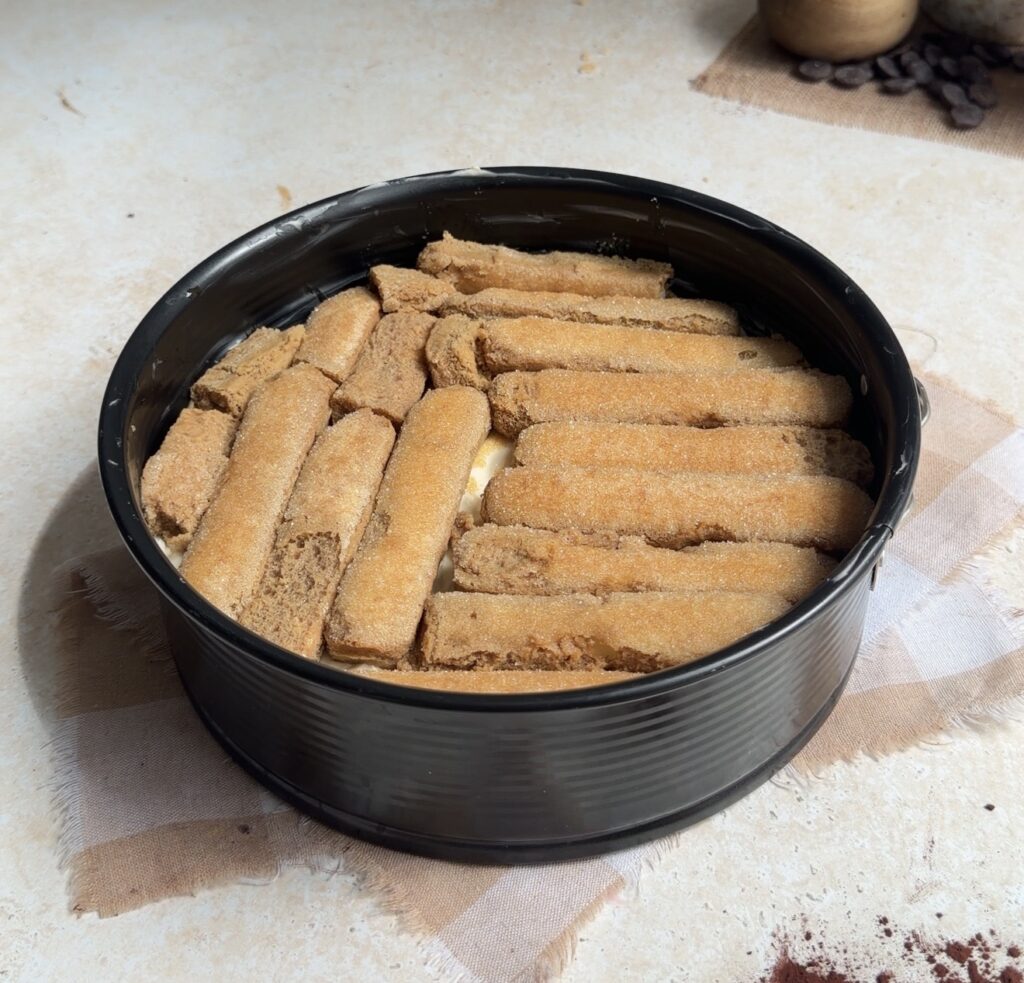
Spread half of the cheesecake filling evenly over the chilled biscuit base. Dip each ladyfinger briefly into the coffee, making sure not to soak them, then arrange them in a single layer over the filling. Spread the remaining cheesecake mixture on top and smooth the surface with an offset spatula or the back of a spoon.
Step 5: Chill Until Set
Cover the cheesecake and refrigerate for at least 8 hours, although overnight chilling is highly recommended. This allows the filling to firm up properly while the coffee flavour develops throughout the dessert.
Step 6: Prepare the Whipped Cream Topping
In a chilled mixing bowl, beat the cold heavy whipping cream with the vanilla paste and powdered sugar until medium to stiff peaks form. The whipped cream should be light, airy, and stable enough for piping or spreading.
Step 7: Decorate and Serve
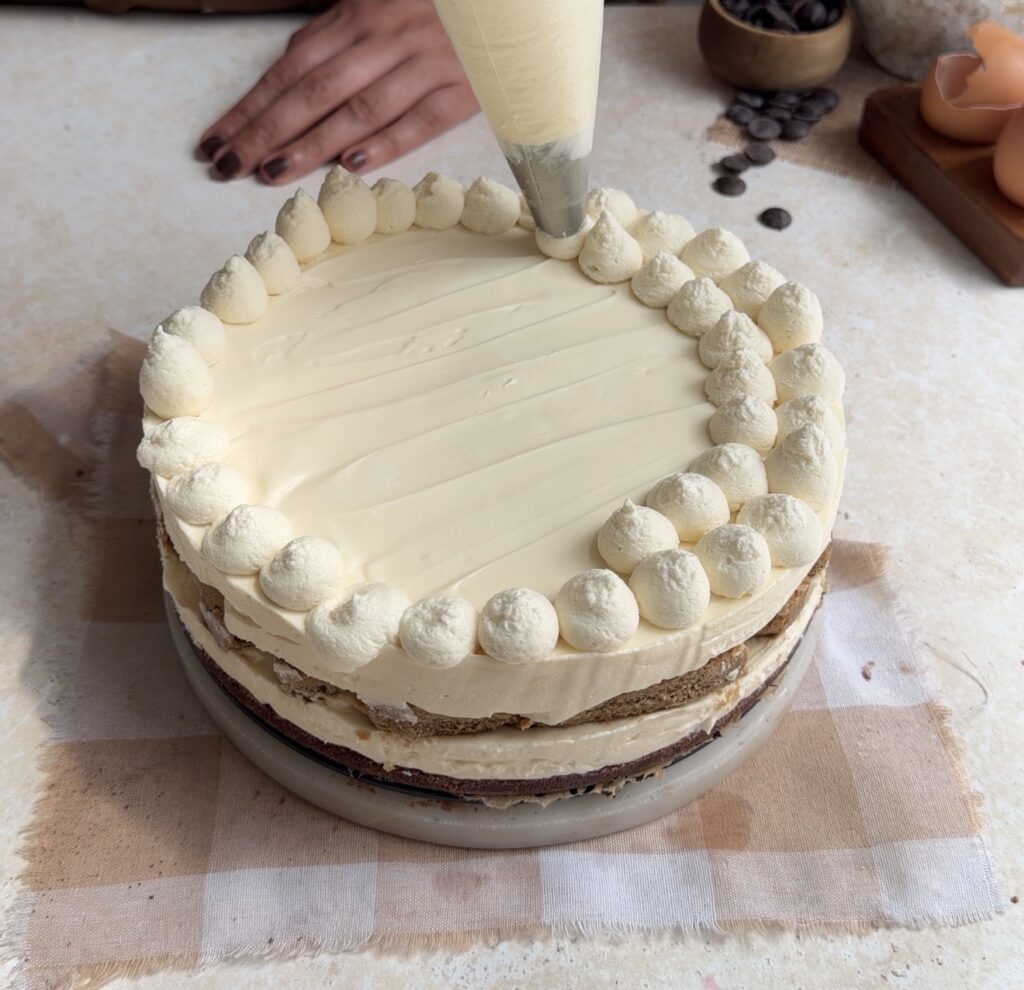
Spread or pipe the whipped cream over the chilled cheesecake. Just before serving, dust the top generously with unsweetened cocoa powder using a fine mesh sieve. Slice with a sharp knife, wiping the blade clean between each cut, and serve chilled for the best texture and flavour.
Frequently Asked Questions
Can I make this no bake tiramisu cheesecake ahead of time?
Yes. This dessert is ideal for making a day in advance, as chilling overnight improves both the flavour and texture.
Can I freeze no bake tiramisu cheesecake?
Yes. Freeze it without the whipped cream topping for up to 2 months. Thaw it overnight in the refrigerator before serving.
Why didn’t my cheesecake set properly?
The filling may have been under-whipped, or the cheesecake may not have chilled long enough. Always whip until stiff peaks form and chill for at least 8 hours.
Can I make this without mascarpone?
Yes. You can substitute additional full-fat cream cheese, although mascarpone gives the cheesecake its signature tiramisu flavour and extra creamy texture.
Watch How to Make it!
Press play to see this recipe step by step. And don’t forget to subscribe for more baking videos!
Full Recipe
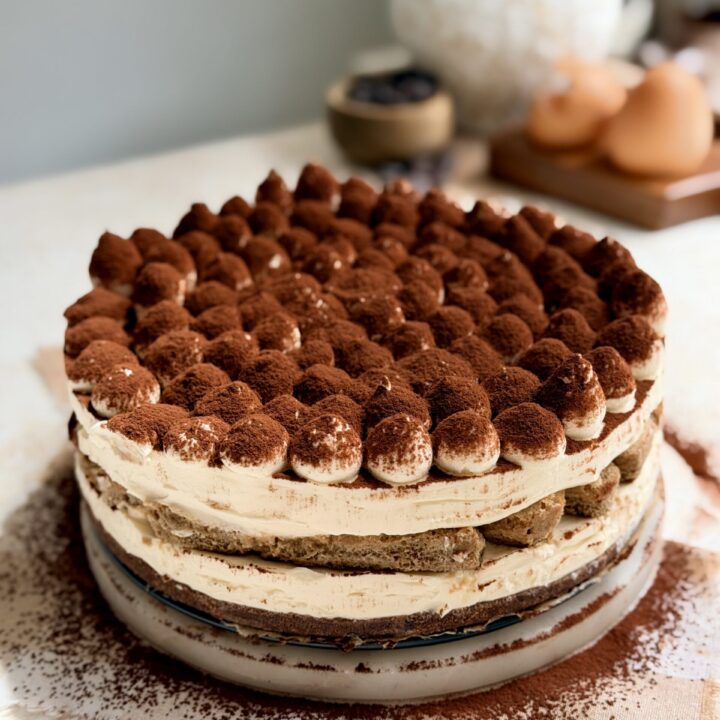
No Bake Tiramisu Cheesecake
A creamy, no-bake tiramisu cheesecake made with a chocolate biscuit crust, luscious mascarpone cheesecake filling, coffee-soaked ladyfingers, whipped cream, and a generous dusting of cocoa powder. This elegant make-ahead dessert is rich, smooth, and packed with authentic tiramisu flavour.
Ingredients
For Biscuit Base:
- 200 g finely crushed digestive biscuits (about 2 cups crumbs or 14 digestive biscuits)
- 20 g unsweetened cocoa powder (about ¼ cup)
- 50 g melted unsalted butter (about 3½ tbsp)
- Pinch of salt (optional)
For Cheesecake Filling:
- 480 g softened full-fat cream cheese (about 17 oz or 2 cups)
- 180 g mascarpone cheese (about 6⅓ oz or ¾ cup)
- 125 g powdered icing sugar (about 1 cup)
- 1 1/4 tsp vanilla paste (or vanilla extract)
- 300 g cold heavy whipping cream (about 1¼ cups)
For Coffee Layer:
- 1 package ladyfingers (Savoiardi biscuits) (approximately 200–250 g / 7–9 oz)
- 1 tbsp instant coffee
- 1 cup hot water (240 ml)
For Whipped Cream Topping:
- 200 g cold heavy whipping cream (about 3/4 – 7/8 cup)
- 1 tsp vanilla paste / vanilla extract
- 3 - 4 tbsp powdered icing sugar (or to taste)
For Finishing:
- Unsweetened cocoa powder (for dusting)
Instructions
- Mix the crushed digestive biscuits, cocoa powder, and melted butter until the crumbs resemble wet sand. Press firmly into a lined 8-inch springform pan and refrigerate while preparing the filling.
- Beat the cream cheese until smooth, then mix in the mascarpone, powdered sugar, and vanilla. Pour in the cold heavy cream and beat until thick and fluffy.
- Dissolve the instant coffee in the hot water and allow it to cool slightly.
- Spread half of the cheesecake filling over the chilled crust. Quickly dip each ladyfinger into the coffee and arrange in a single layer. Top with the remaining cheesecake filling and smooth the surface.
- Cover and refrigerate for at least 8 hours, preferably overnight, until fully set.
- Whip the heavy cream with vanilla and powdered sugar until medium-stiff peaks form. Spread or pipe over the cheesecake, dust generously with cocoa powder, slice, and serve.
If you like tiramisu recipes like these, you should definitely check out my: