
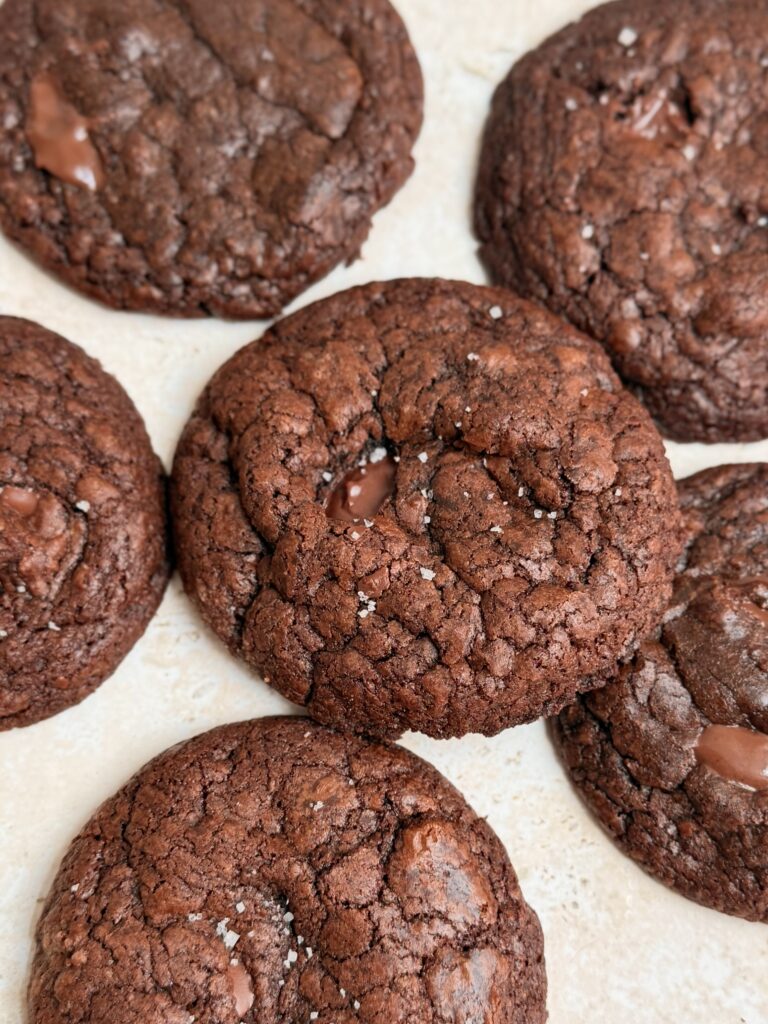
These Brown Butter Brownie Cookies combine the rich, fudgy texture of a brownie with the chewy edges and crinkly top of a chocolate cookie. Brown butter adds a deep, nutty flavour, while melted dark chocolate and cocoa powder make these cookies intensely chocolatey. They’re finished with plenty of semi sweet chocolate chunks, so every bite has a soft brownie centre and pockets of melted chocolate. Best of all, these cookies come together quickly and bake in just minutes, making them perfect when you’re craving an indulgent homemade chocolate dessert.
Why you will love this recipe?
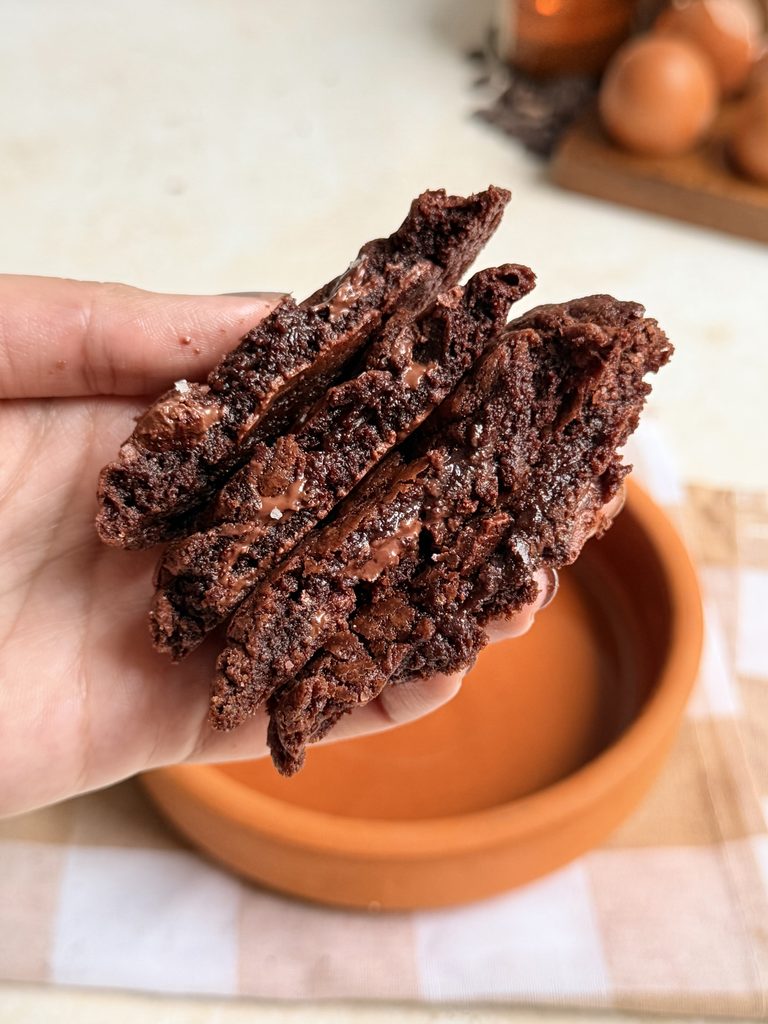
These Brown Butter Brownie Cookies are the perfect choice when you can’t decide between brownies and cookies. The brown butter brings a warm, nutty depth to the chocolate, while the combination of melted dark chocolate and cocoa creates an incredibly rich flavour. Meanwhile, whisking the eggs and sugar until thick gives the cookies their beautiful crinkly tops and fudgy centres. The extra chocolate chunks melt throughout the cookies as they bake, making them especially delicious while they’re still slightly warm. They’re easy enough for a quick baking project, yet indulgent enough to feel like a special dessert.
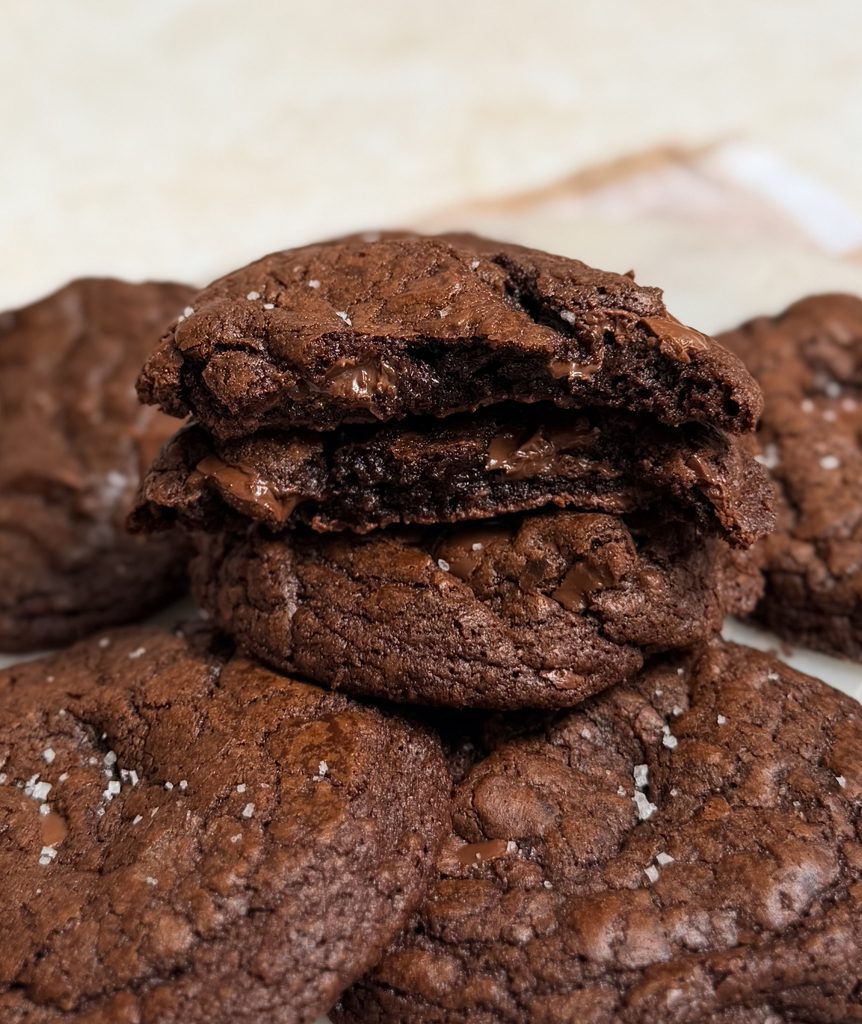
Expert Tips for Best Results!
- Let the chocolate mixture cool slightly – It should still be fluid, but not hot, before being added to the whipped eggs. Whisk the eggs and sugar properly – The 5-minute whisking time helps create the shiny, crinkled surface that makes these cookies look like brownie cookies.
- Don’t overmix after adding flour – Fold just until the dry ingredients disappear. Overmixing can take away from the soft, fudgy texture.
- Don’t overbake – This is especially important. The cookies should look set around the edges but still appear soft in the centre when you remove them from the oven.
- Use a cookie scoop – Keeping the portions similar in size helps the cookies bake evenly.
How to make Brown Butter Brownie Cookies?
The detailed recipe is included in the Full Recipe below. The following pictures and instructions will help you understand the process better visually.
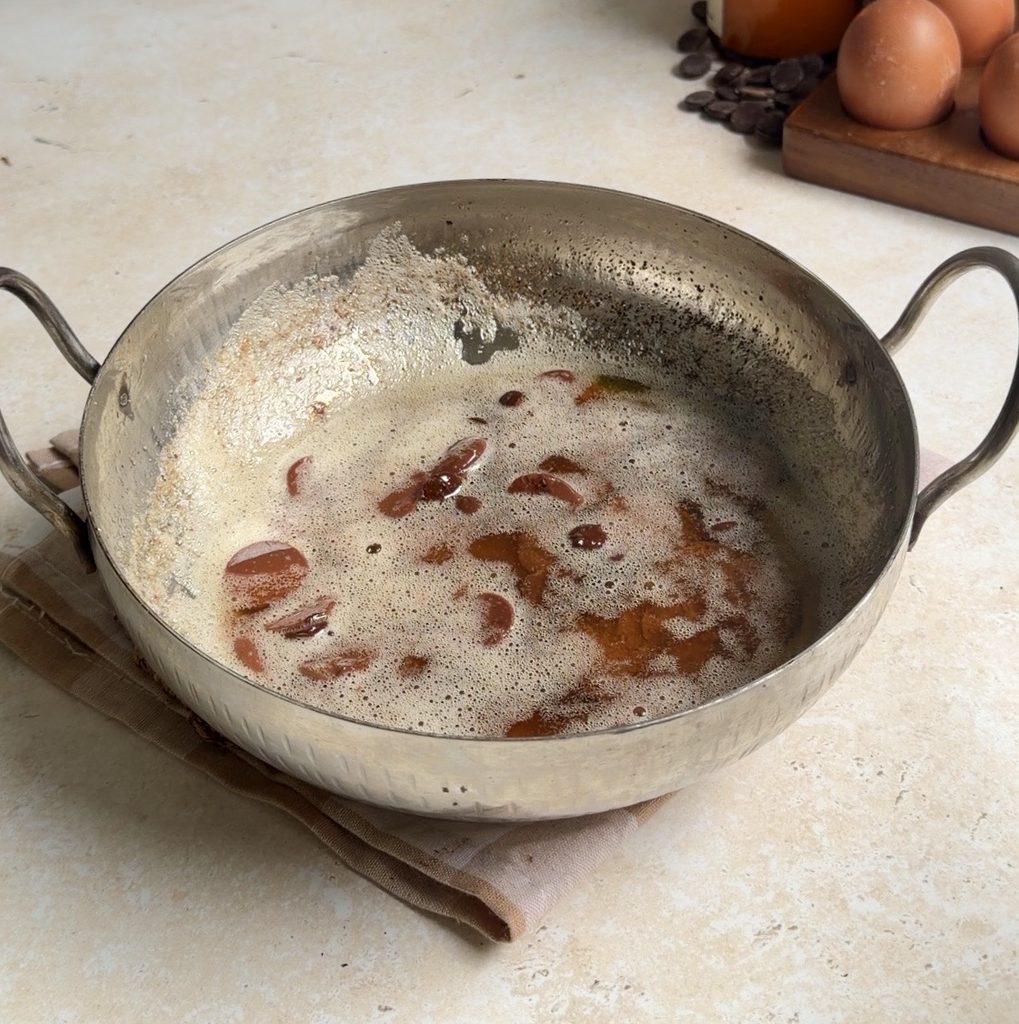
Step 1: Brown the butter
First, place the butter in a light-coloured saucepan over medium heat. A light pan makes it much easier to see the colour of the milk solids as they brown.
Allow the butter to melt completely. It will begin to foam and bubble as the water in the butter evaporates. Continue cooking, gently swirling the pan or stirring occasionally so the milk solids do not settle and burn. As the butter cooks, you’ll notice small golden specks forming at the bottom of the pan. Keep cooking until these specks turn a deep golden brown and the butter develops a distinctly nutty, toasted aroma. This is the point where all that brown butter flavour develops, so keep a close eye on it because it can go from perfectly browned to burnt very quickly.
Once the butter is beautifully golden and fragrant, immediately remove the saucepan from the heat. The residual heat will continue cooking the browned milk solids.
Step 2: Melt the chocolate
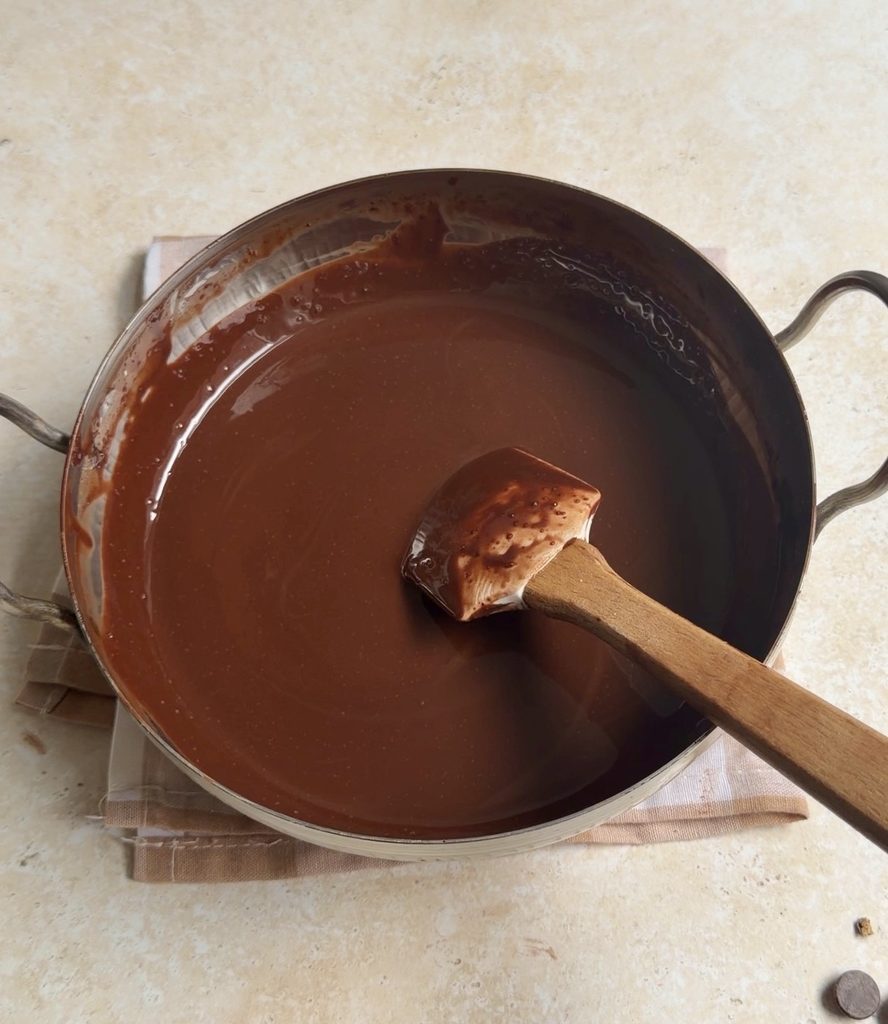
Add the chopped dark chocolate directly to the hot brown butter. Let the mixture sit undisturbed for about 4–5 minutes so the chocolate has time to soften.
Then, whisk until the chocolate is completely melted and the mixture becomes smooth and glossy. Add the cocoa powder and stir until fully incorporated. Set aside to cool slightly.
Step 3: Whisk the eggs and sugars
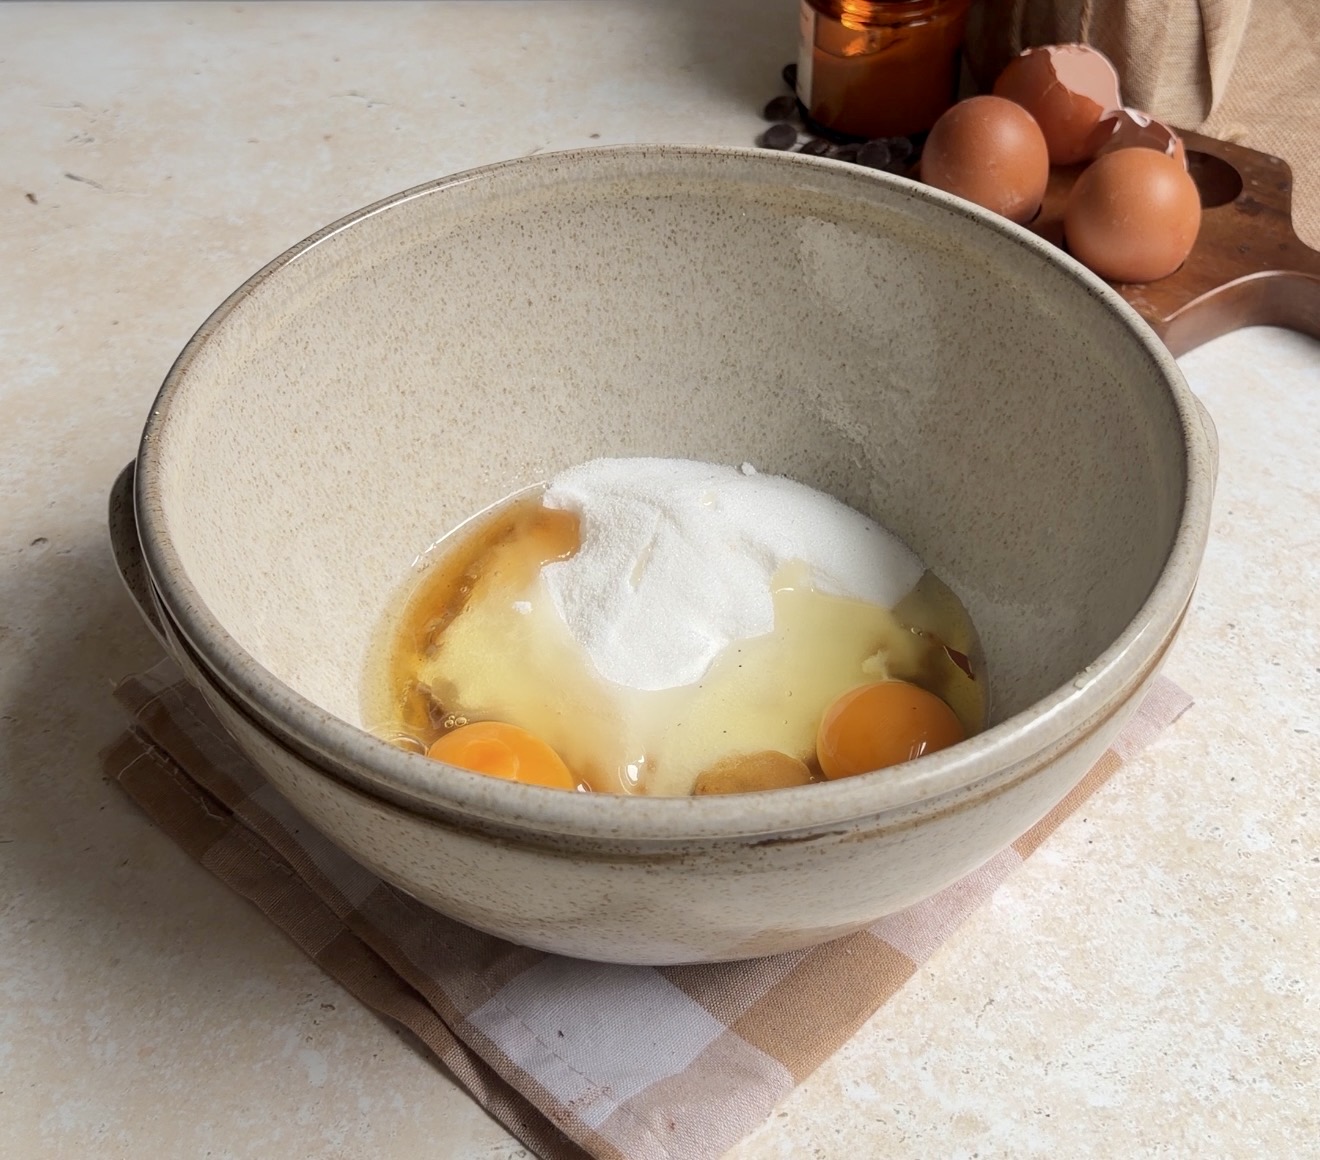
Meanwhile, add the eggs, caster sugar and soft brown sugar to a large mixing bowl.
Using an electric mixer or whisk, beat the mixture for approximately 5 minutes. It should become pale, thick and noticeably increased in volume.
This step is important because the whipped eggs help create the characteristic shiny, crinkly surface while keeping the cookies soft and fudgy inside.
Step 4: Combine the chocolate mixture
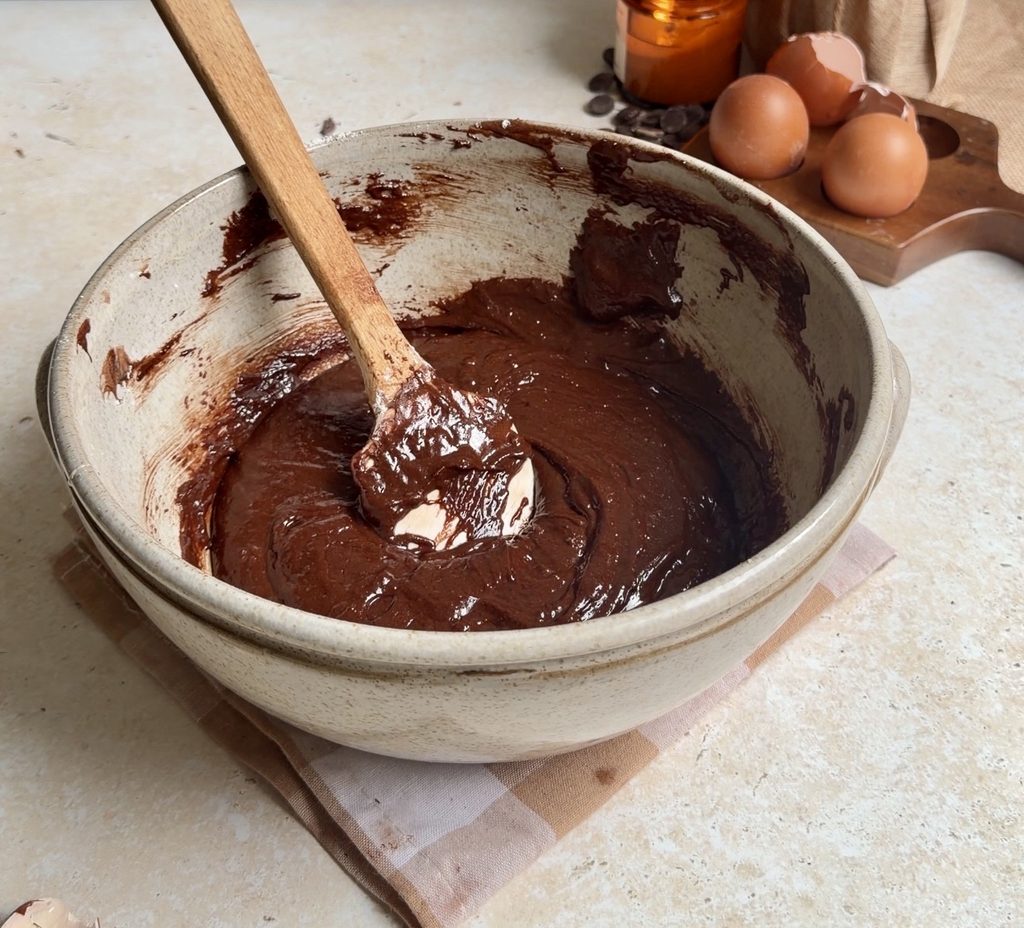
Next, slowly pour the slightly cooled brown butter and chocolate mixture into the whipped egg mixture.
Fold gently with a spatula until the two mixtures are evenly combined. Avoid mixing aggressively because you want to maintain some of the air incorporated into the eggs.
Step 5: Add the dry ingredients
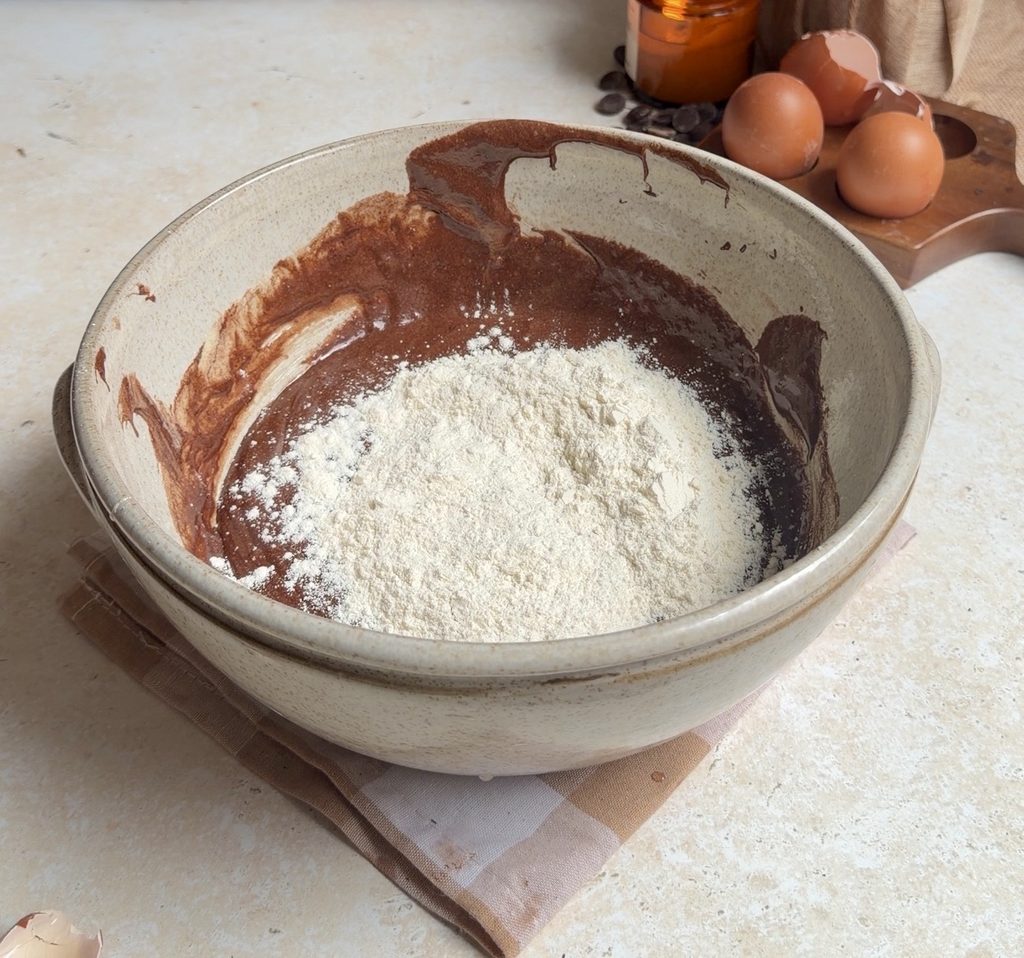
In a separate bowl, whisk together the all-purpose flour, cornstarch, baking powder, cocoa powder, instant coffee powder and salt.
Gradually add the dry ingredients to the chocolate mixture. Fold gently until the flour has just disappeared.
Do not overmix the dough, as this can make the cookies less fudgy.
Step 6: Add the chocolate chunks
Finally, fold the semi sweet chocolate chunks through the cookie dough, distributing them evenly.
The dough should be thick and glossy rather than thin or runny. If it feels particularly soft because the chocolate mixture was still warm, allow it to sit for a few minutes before scooping.
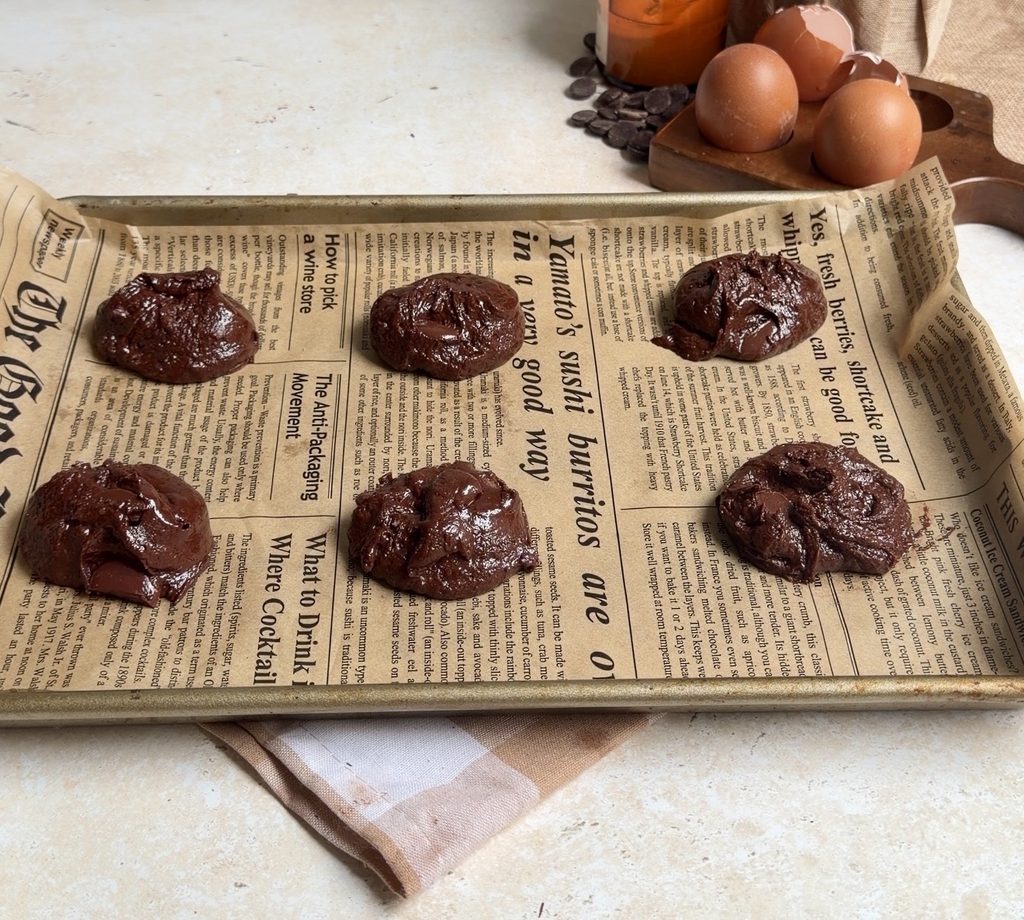
Step 7: Scoop and bake
Preheat the oven to 180°C / 350°F and line a baking tray with parchment paper.
Using a small to medium-sized spoon or cookie scoop, portion the brownie cookie batter onto a lined baking sheet. Keep the portions relatively uniform and leave plenty of space between them because the cookies will spread as they bake. Avoid making the scoops too large, as smaller portions bake more evenly and develop those lovely fudgy centres.
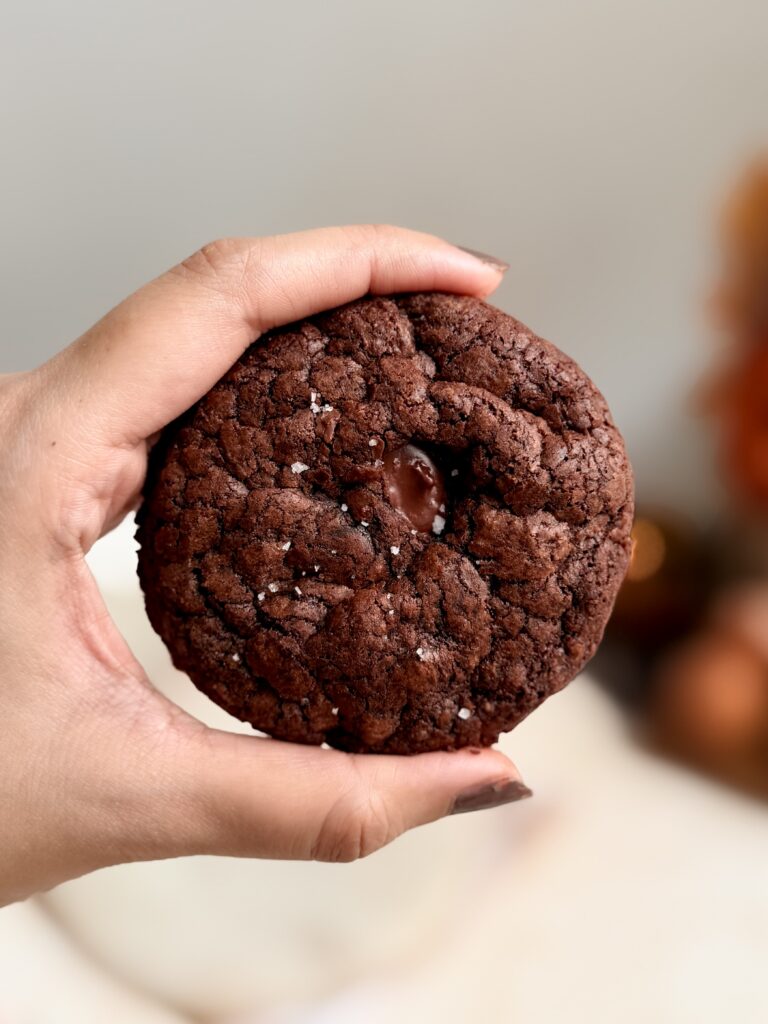
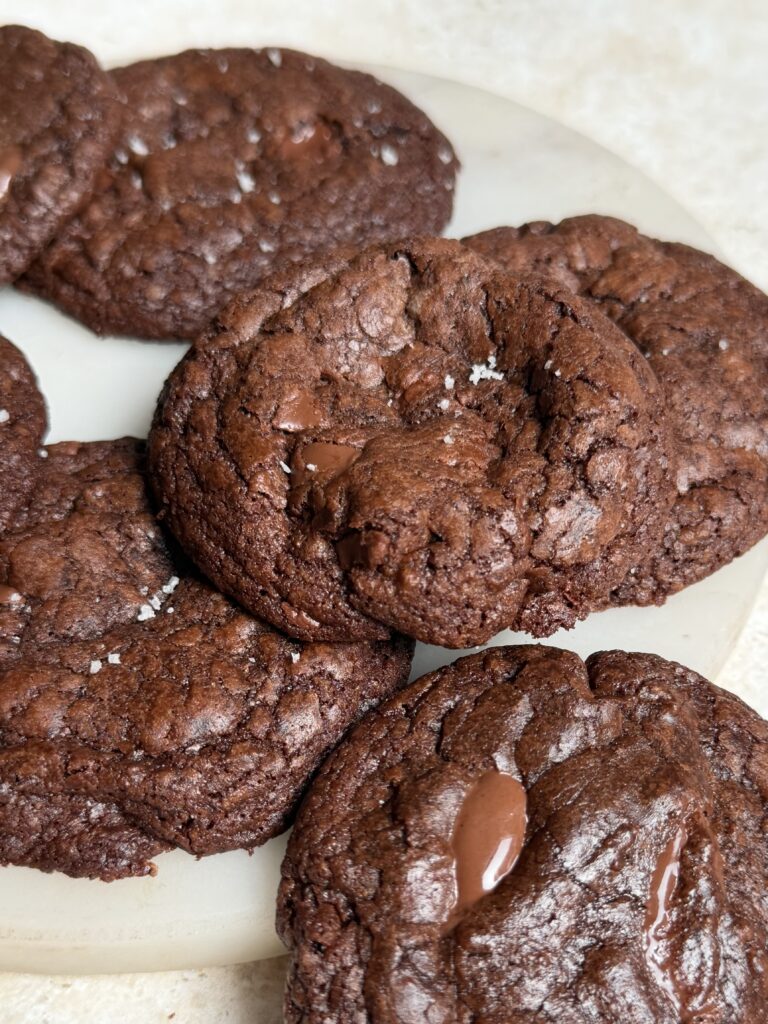
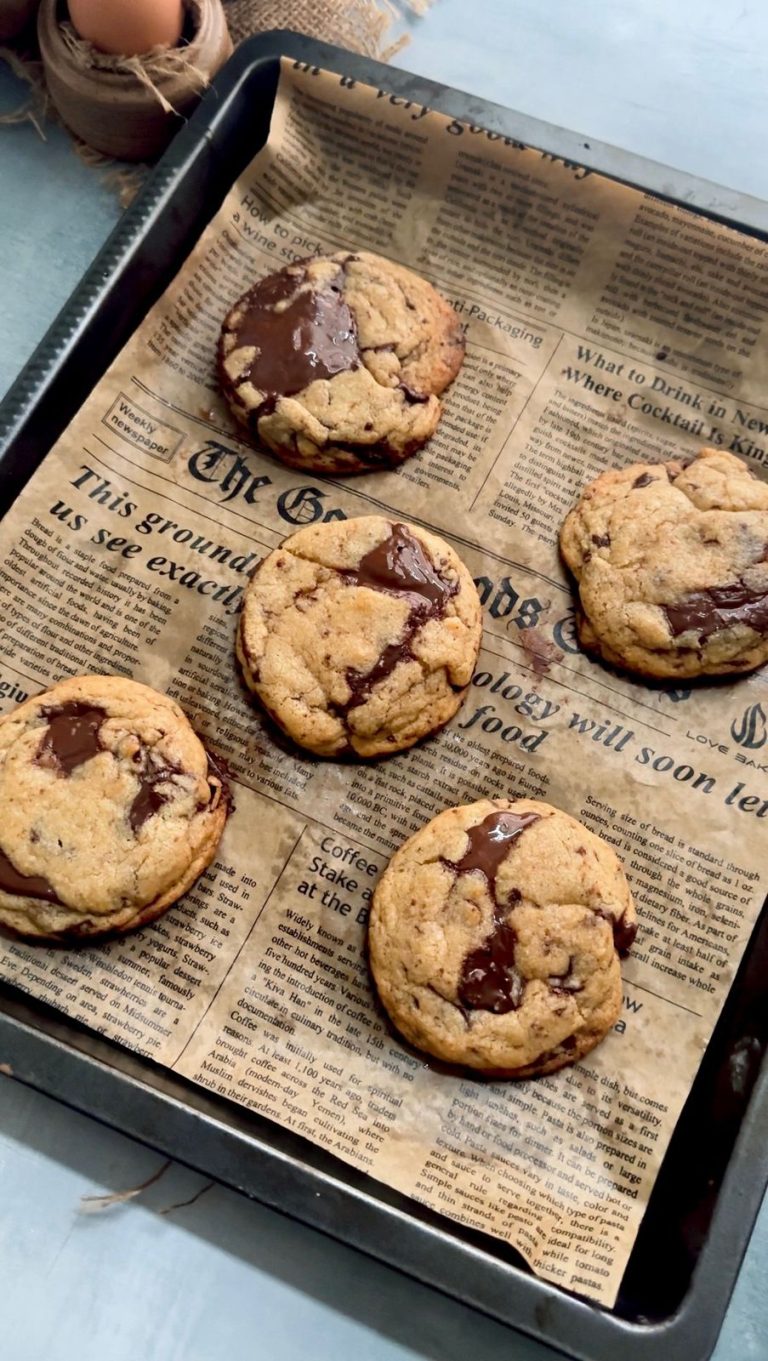
Bake for approximately 8–11 minutes. The cookies should have spread slightly, developed a crinkly top and look set around the edges while remaining soft in the centre.
Step 8: Cool the cookies
Allow the cookies to cool directly on the baking tray for 5–10 minutes after baking. They will continue to set as they cool while keeping their fudgy centre.
Once they have firmed up enough to handle, carefully transfer them to a wire rack.
For the best texture, enjoy them slightly warm while the chocolate chunks are still soft and melted.
Frequently Asked Questions
Why didn’t my brownie cookies develop a crinkly top?
The crinkly top mainly comes from properly whisking the eggs and sugar until pale and thick. If the mixture isn’t whisked enough, you may not get the same shiny, crackled surface.
Why are my cookies spreading too much?
The chocolate mixture may have been too warm when combined with the eggs, or the dough may have been particularly soft. Make sure the brown butter chocolate mixture has cooled slightly before combining it with the eggs and sugar.
Can I make the cookie dough ahead of time?
Yes. You can prepare the dough and refrigerate it in a covered container. However, keep in mind that the cookies may lose some of their shiny, crinkly top when the batter sits in the refrigerator before baking. They will still bake up soft and fudgy, but the surface may not have the same glossy, crackled appearance as cookies baked immediately after mixing. If the chilled dough becomes firm, let it sit at room temperature briefly before scooping and baking.
How should I store Brown Butter Brownie Cookies?
Once completely cooled, store the cookies in an airtight container at room temperature for approximately 3–4 days.
Can I freeze Brown Butter Brownie Cookies?
Yes. You can freeze the baked cookies in an airtight freezer-safe container for up to 2–3 months. Allow them to thaw at room temperature before serving.
Watch How to Make it!
Video Coming Soon!
Full Recipe
Brown Butter Brownie Cookies
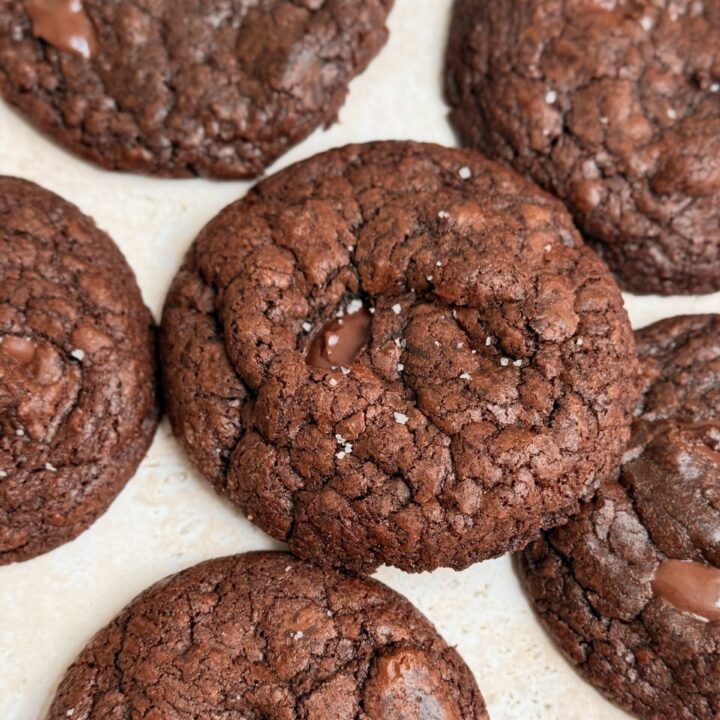
These Brown Butter Brownie Cookies are rich, fudgy and intensely chocolatey, with a beautiful crinkly top and plenty of melted chocolate chunks throughout. Browned butter adds a deep, nutty flavour, while dark chocolate and cocoa powder create that irresistible brownie-like richness. They’re quick to make and perfect for enjoying slightly warm with a soft, fudgy centre.
Ingredients
- 1/2 cup unsalted butter (113g)
- 200g dark chocolate
- 3/4 cup caster sugar (150g)
- 1/4 cup soft brown sugar (50g)
- 2 Large eggs
- 1 tsp vanilla extract
- 2/3 cup + 2 tbsp all-purpose flour (98g)
- 1 tbsp corn starch
- 1/2 tsp baking powder
- 25g cocoa powder
- 1tsp instant coffee powder
- 1/2 tsp salt
- 100g semi chocolate chunks
Instructions
- Melt the butter in a light-coloured saucepan over medium heat. Continue cooking, stirring occasionally, until it foams and golden-brown bits appear at the bottom. Once it smells nutty and toasted, immediately remove it from the heat. Add the chopped dark chocolate and let it sit for 4–5 minutes, then whisk until smooth. Stir in the cocoa powder and set aside to cool slightly.
- In a separate large bowl, whisk the eggs, caster sugar and brown sugar for about 5 minutes, until the mixture is pale, thick and fluffy. This helps create the signature crinkly top on the brownie cookies.
- Slowly pour the slightly cooled brown butter and chocolate mixture into the whipped egg mixture. Fold gently with a spatula until evenly combined, being careful not to knock out too much air.
- In another bowl, whisk together the flour, corn starch, baking powder, instant coffee powder and salt. Add the dry ingredients to the chocolate mixture and fold gently until just combined.
- Fold in the chocolate chunks, distributing them evenly throughout the brownie cookie dough. Avoid overmixing once the flour has been incorporated.
- Using a small to medium-sized cookie scoop or spoon, scoop portions of dough onto a parchment-lined baking sheet. Leave enough space between each cookie for them to spread naturally as they bake. If desired, press a few extra chocolate chunks onto the tops.
- Bake at 180°C / 350°F for 8–11 minutes, or until the cookies have formed their shape and developed a crinkly top. The edges should look set while the centres remain soft and fudgy.
- Allow the cookies to cool on the baking sheet for 5–10 minutes before carefully transferring them to a wire rack. They will continue to set as they cool while keeping their soft brownie-like centre.
If you like Cookie recipes like these, you should definitely check out my:
1) Cookies and Cream Cookies
2) Double Chocolate Chip Cookies
Hello, i have two questions,
1. Can I add good quality chocolate pieces instead of chocolate chunks?
2. Can i use 70-80% dark chocolate for this?
hello, yes you can1
The best cookie I ever made was this one. Thank you so much for sharing and genuinely sharing all your tips and tricks.
Im so glad you liked it ashfa!