
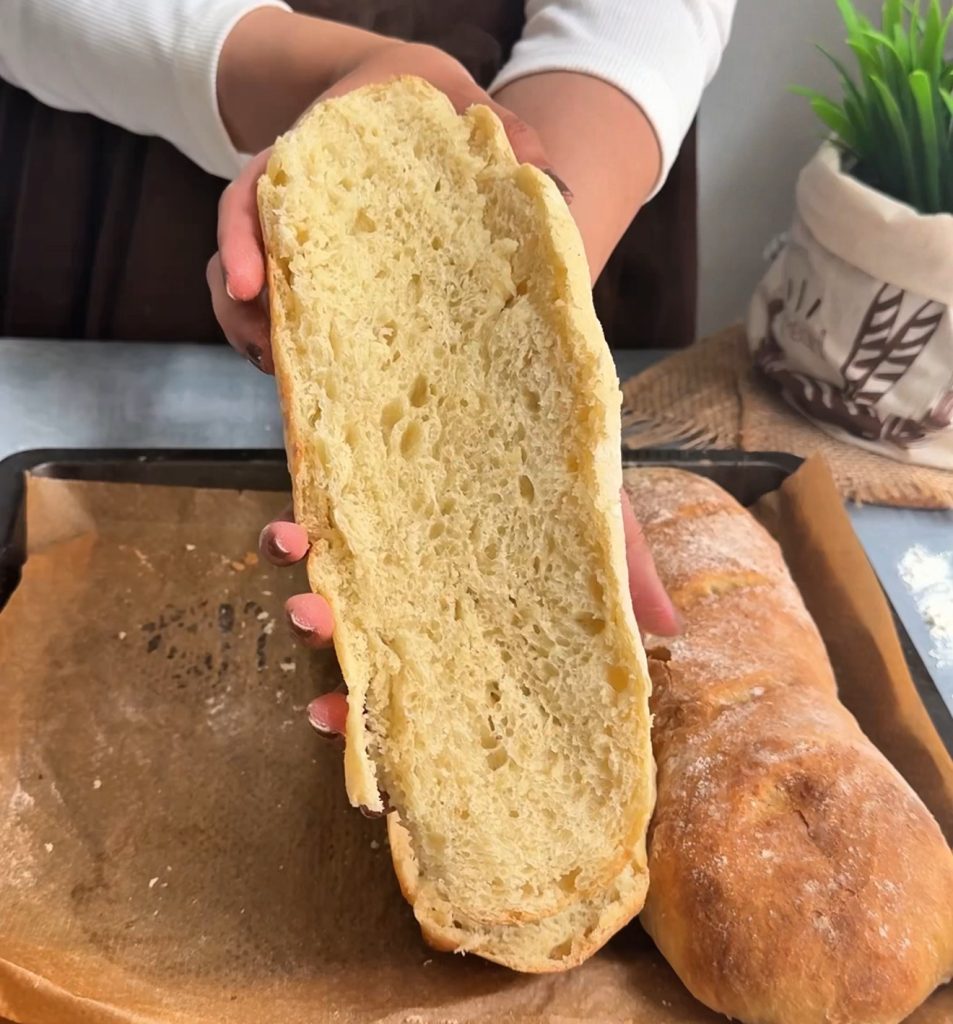
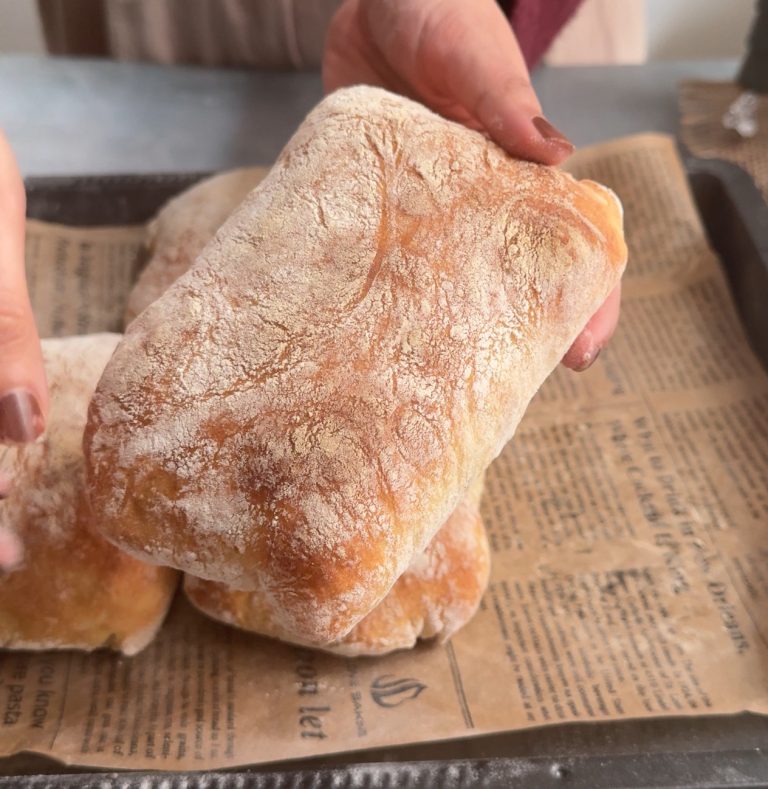
This Ciabatta Style Bread Loaf is soft, airy, and full of flavour, yet surprisingly easy to make. A ver easy no knead recipe made on the same day. With a simple stretch-and-fold technique, you get beautifully light and chewy bread without the fuss of traditional kneading.
Why you will love this recipe?
This No-Knead Ciabatta-Style Bread delivers bakery-quality results with hardly any hands-on work. The simple stretch-and-fold method creates a light, chewy interior and a golden, crisp crust every time. It’s perfect for fresh sandwiches, dipping in olive oil, or enjoying warm straight from the oven.
Expert Tips for Best results!
- Use Lukewarm Water – Make sure the water is lukewarm, not hot, to activate the yeast without killing it. This helps the dough rise perfectly.
- Don’t Skip the Stretch and Fold – The stretch-and-fold technique builds structure in the dough without traditional kneading. Be gentle and patient for airy, soft bread.
- Keep Your Hands Lightly Wet – When doing the folds, wet your hands slightly to prevent sticking and maintain the dough’s texture.
- Handle Dough Gently During Shaping – When forming the loaves, avoid pressing out all the air. Gentle handling preserves the light, open texture of the bread.
- Bake Until Golden and Crisp – Watch the loaves closely; the crust should be deep golden brown and crisp while the inside stays soft and airy.
- Steam for Perfect Crust- To get that crusty outside, I recommend spraying some water in the oven to create steam.
How to make No Knead Ciabatta Style Bread Loaf?
Step 1: Mix the Dough
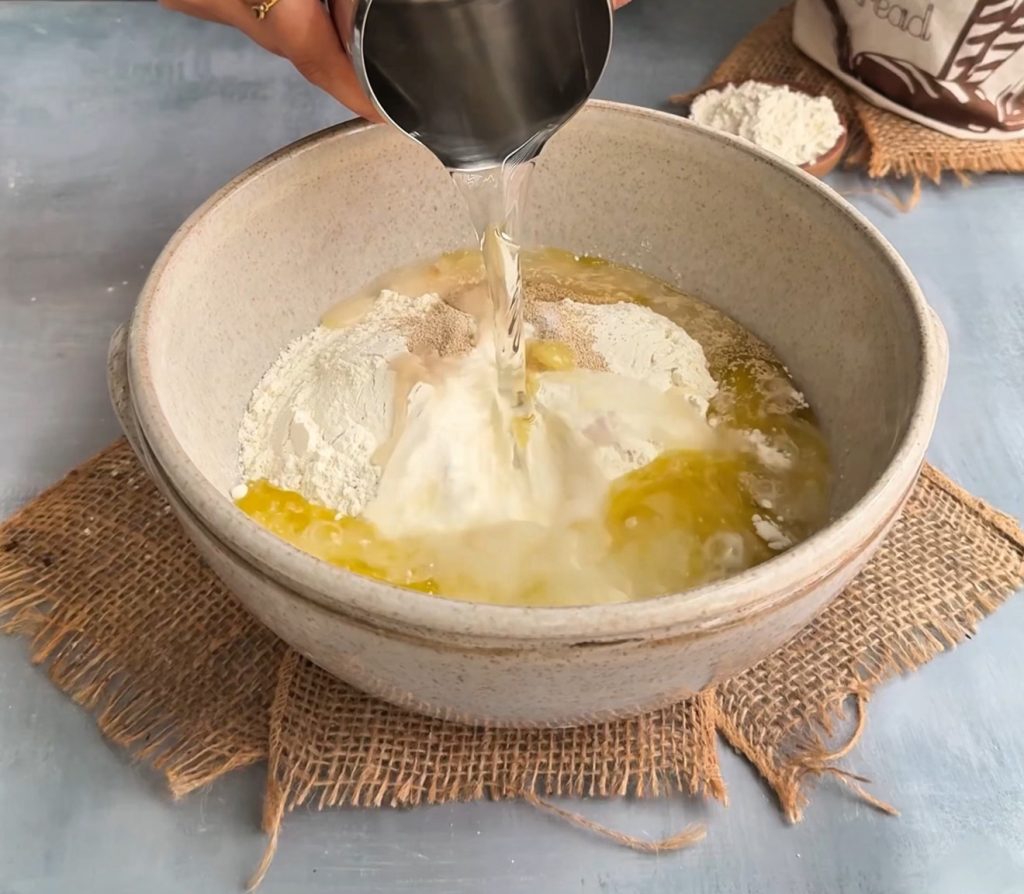
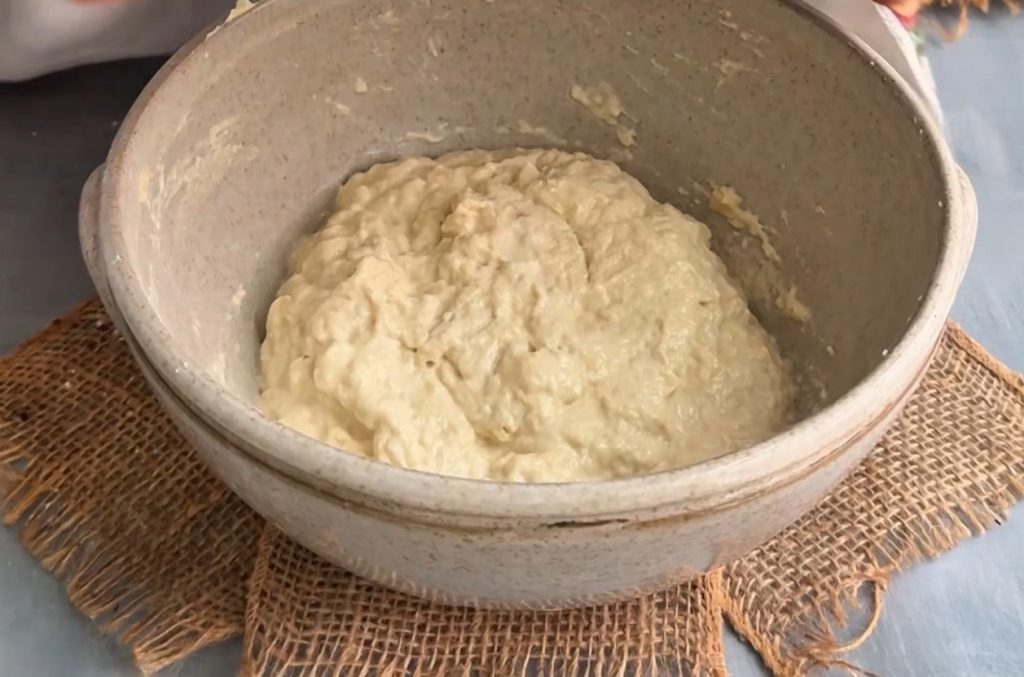
Start by combining the flour, salt, and instant yeast in a large bowl. Then, pour in the olive oil and lukewarm water. Mix everything together until a sticky dough forms. Afterward, cover the bowl and let the dough rest in a warm place for 20 minutes.
Step 2: First Stretch and Fold
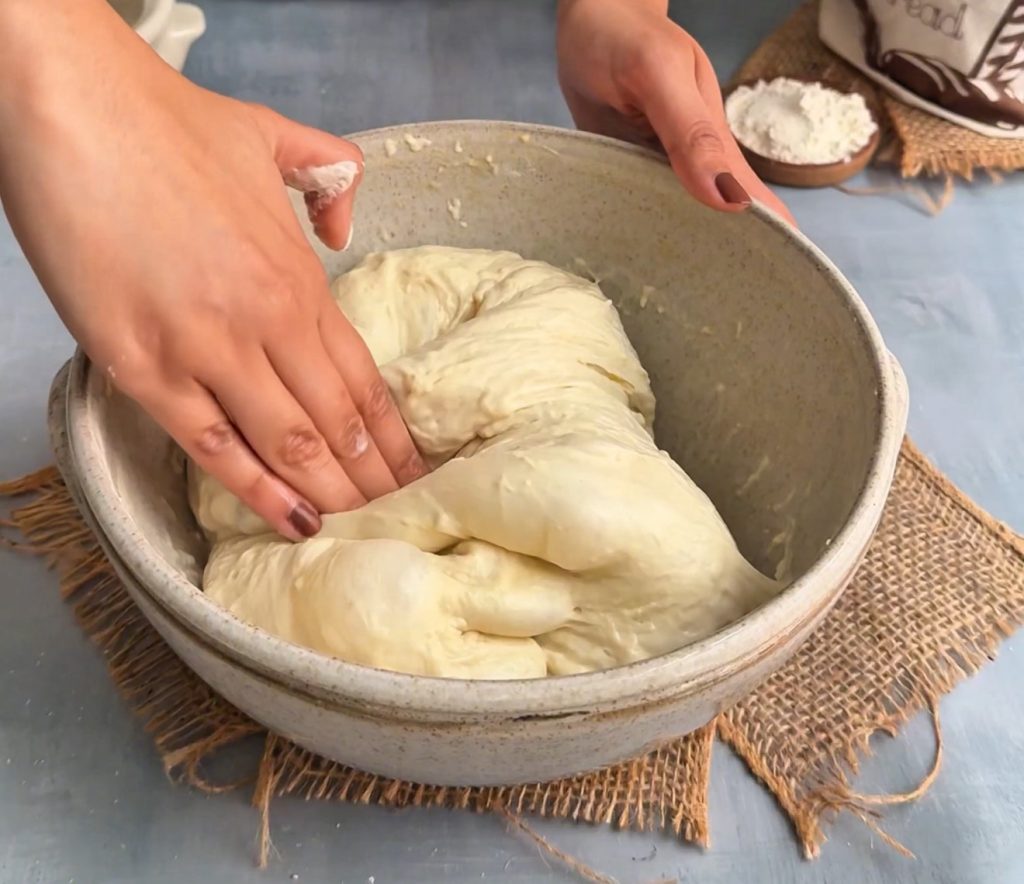
Next, wet your hands lightly to prevent sticking. Grab one side of the dough, stretch it upward, and fold it over to the other side. Repeat this on all sides until the dough is folded in on itself. Cover the bowl again and allow the dough to rest for another 20 minutes.
Step 3: Second and Third Stretch and Fold
Continue with the same process for two more rounds. For each round, allow the dough to rest for 20 minutes between each fold. This helps develop the dough’s structure, ensuring a light and airy crumb.
Step 4: Bulk Fermentation
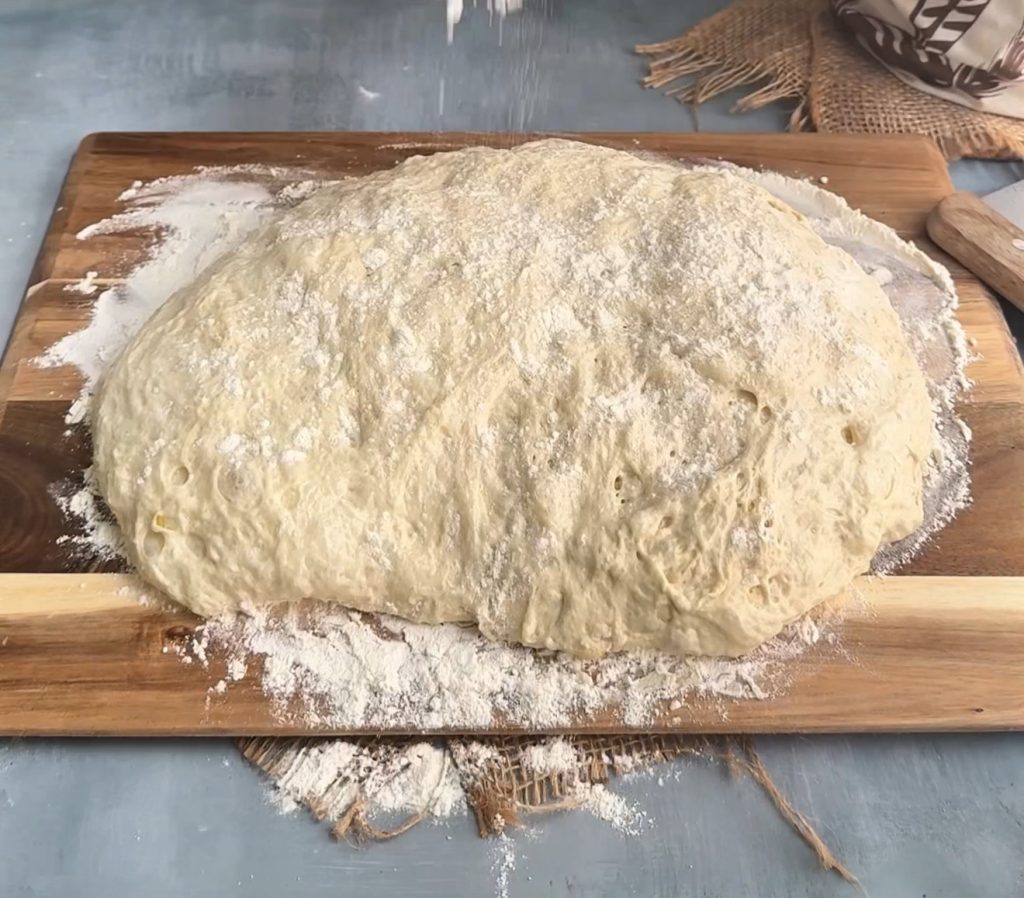
After completing the third set of folds, cover the bowl and let the dough rise in a warm place for 1 to 1 1/2 hours. At this stage, the dough should become puffed up and slightly wobbly, indicating it has fermented properly.
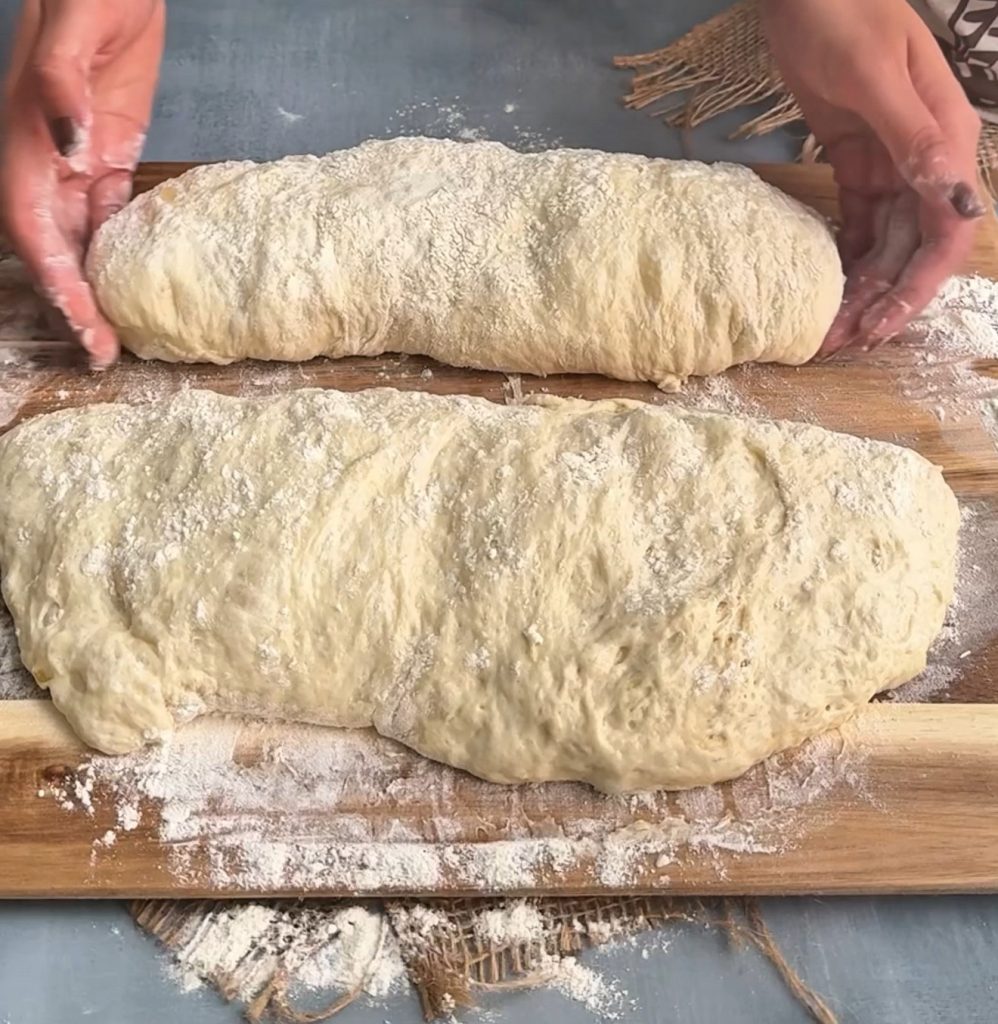
Step 5: Shape the Loaves
Once the dough has fermented, transfer it gently to a well-floured surface. Dust the top with a little more flour to prevent sticking. Carefully divide the dough in half and shape each portion into a long ciabatta-style loaf. For shaping u can pinch the edges slightly. Be sure to handle the dough gently so as not to knock out too much air.
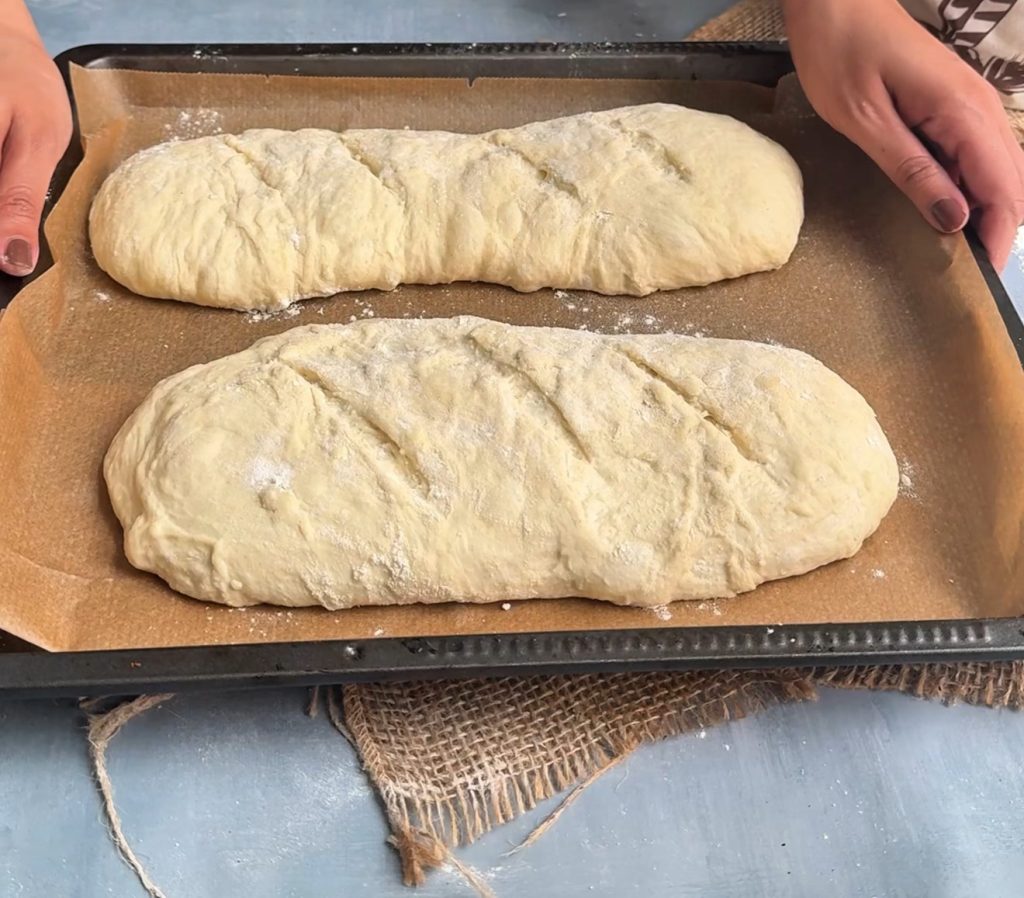
Step 6: Final Rest and Preheat
Cover the shaped loaves with a cloth and let them rest for 20 minutes. Meanwhile, preheat your oven to 220°C (425°F) so it’s nice and hot when the loaves are ready to bake.
Step 7: Bake the Bread
Once rested, transfer the loaves onto a parchment-lined baking tray. Bake them in the preheated oven for 20–25 minutes, or until the loaves are golden brown and the crust is crisp.
Step 8: Cool and Serve
Finally, remove the loaves from the oven and allow them to cool slightly before slicing. Enjoy your soft, airy ciabatta-style bread fresh from the oven!
Frequently Asked Questions
Do I really need to do the stretch-and-fold method?
Yes, it’s essential for building structure and developing the airy, open crumb without kneading. Skipping it may result in a denser loaf.
Can I make this bread ahead of time?
You can prepare the dough ahead and refrigerate it during the bulk fermentation. Just let it come to room temperature and complete the final rise before baking.
Can I freeze this bread?
Yes, the baked loaves freeze well. Slice before freezing if you plan to toast individual pieces later. Thaw at room temperature or reheat in the oven.
What’s the best way to serve ciabatta bread?
Serve fresh, warm with butter, olive oil, or use it for sandwiches. It’s also perfect for dipping into soups and sauces.
Watch How to Make it!
Press play to see this recipe step by step. And don’t forget to subscribe for more baking videos!
Recipe Card

Ciabatta Style Bread Loaf
This No Knead Ciabatta Loaf is as simple as it gets but delivers incredible results every time. With minimal hands-on work, you’ll get a soft, airy interior and a crisp, golden crust that’s perfect for dipping or making sandwiches. It’s the kind of bread that’s so easy, you’ll want to bake it regularly!
Ingredients
- 3 1/2 cups all-purpose or bread flour (437g)
- 1 1/4 tsp instant yeast
- 1 3/4 tsp salt
- 3 1/2 tbsp olive oil (47ml)
- 1 cup + 2/3 cup lukewarm water (400ml)
Instructions
- In a large bowl, combine flour, salt, and yeast. Add olive oil and lukewarm water, then mix until a sticky dough forms. Cover and let rest in a warm place for 20 minutes.
- Lightly wet your hands, grab one side of the dough, stretch it upward, and fold it over. Repeat on all sides. Cover and rest for 20 minutes.
- Repeat the stretch-and-fold process two more times, resting for 20 minutes between each fold.
- Cover the dough and let it rise in a warm place for 1 to 1½ hours, until puffed and slightly wobbly.
- Transfer the dough to a floured surface, dust the top with flour, and gently divide into two portions. Shape each into a long ciabatta-style loaf without pressing out the air.
- Cover the loaves with a cloth and let rest for 20 minutes. Preheat the oven to 220°C (425°F).
- Place the loaves on a parchment-lined tray and bake for 20–25 minutes until golden brown and crisp.
- Remove from the oven and let cool slightly before slicing. Enjoy warm, soft, and airy ciabatta-style bread!

Can I make 4 smaller loaves with this same recipe?
Yes you can if you want to ofcourse. You can also check my Ciabatta Bread Rolls Recipeif you want to make small ones. Hope this helps 🙂
Good morning! Your recipes look so easy and delicious. Can I sub regular yeast for the instant yeast? Wondering if I could mix it in with warm water and let it do its thing then add everything else. What are your thoughts? Thank you😊
Hey, I use instant yeast in all of my recipes and for instant yeast you dont have to wait for it to bloom. Just follow the recipe exactly. Make sure the water is slightly warm and not hot!
Just made this today and it turned out AMAZING! Thank you for always sharing the best recipes 🥰
Thankyou! I’m so glad you liked it! 🙂
I’ve made this today and whole it was pretty good I had to turn the loafs over and put back in the oven as it didn’t seem to be cooked through. Any recommendations to avoid this happening please?
If this happened it means either your oven doesn’t gets too hot or it easnt preheated properly. Make sure to preheat properly and if your oven doesnot gets very hot then u might need to increase the baking temperature by 10 degrees. I also recommend that you can preheat oven with the baking tray inside , and then transfer your loaves to the hot baking tray and then bake.