
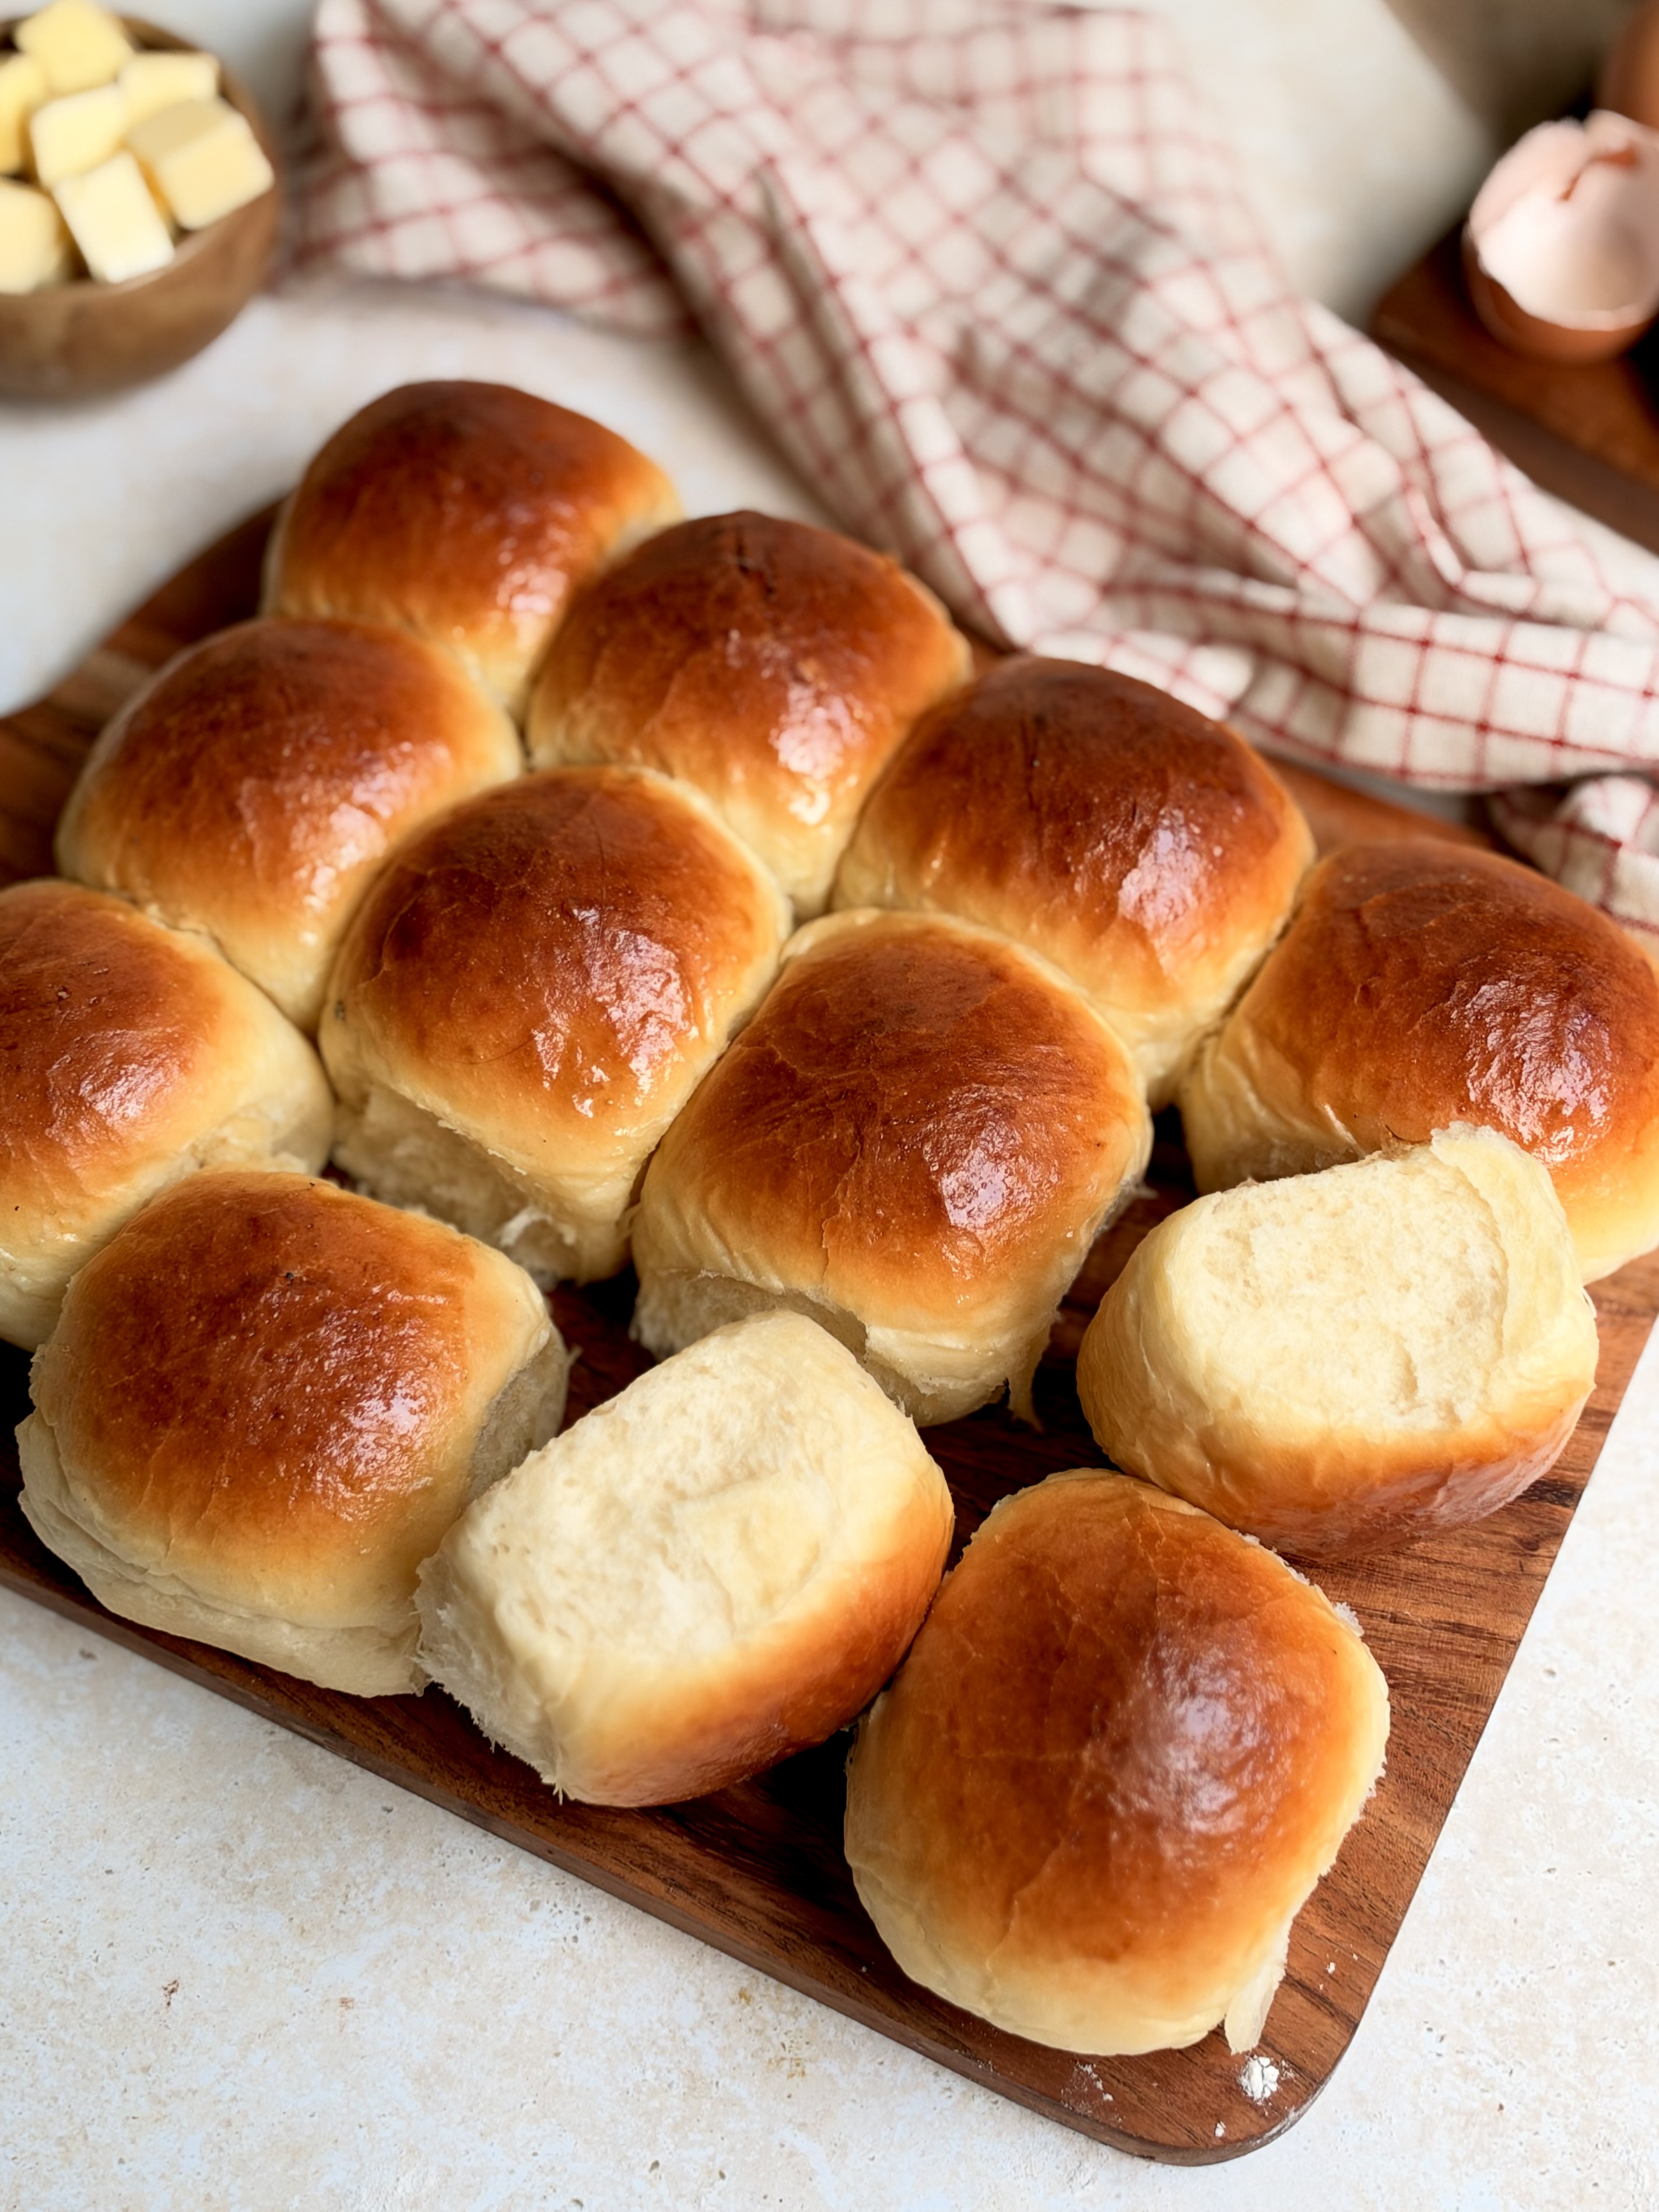
These Buttermilk Dinner Rolls are fluffy, tender and beautifully buttery, with golden tops and a light, pillowy centre. Made with a simple homemade buttermilk mixture, they have a subtle tang that balances their rich, buttery flavour. Each roll is soft enough to pull apart easily and makes the perfect addition to family dinners, holiday gatherings or a cosy homemade meal. Serve them warm with a little melted butter, or enjoy them alongside your favourite soups, stews and main dishes.
Why you will love this recipe?
are wonderfully soft, fluffy and buttery, with a delicate golden crust and a tender centre. The buttermilk adds a subtle tang and extra richness, enhancing the flavour of the rolls without overpowering their buttery taste. They are delicious on their own, even better with a little butter, and perfect for soaking up sauces or serving alongside your favourite meals. Whether you are preparing a family dinner, or planning a holiday spread, these homemade rolls are always a welcome addition.

Expert Tips for Best results!
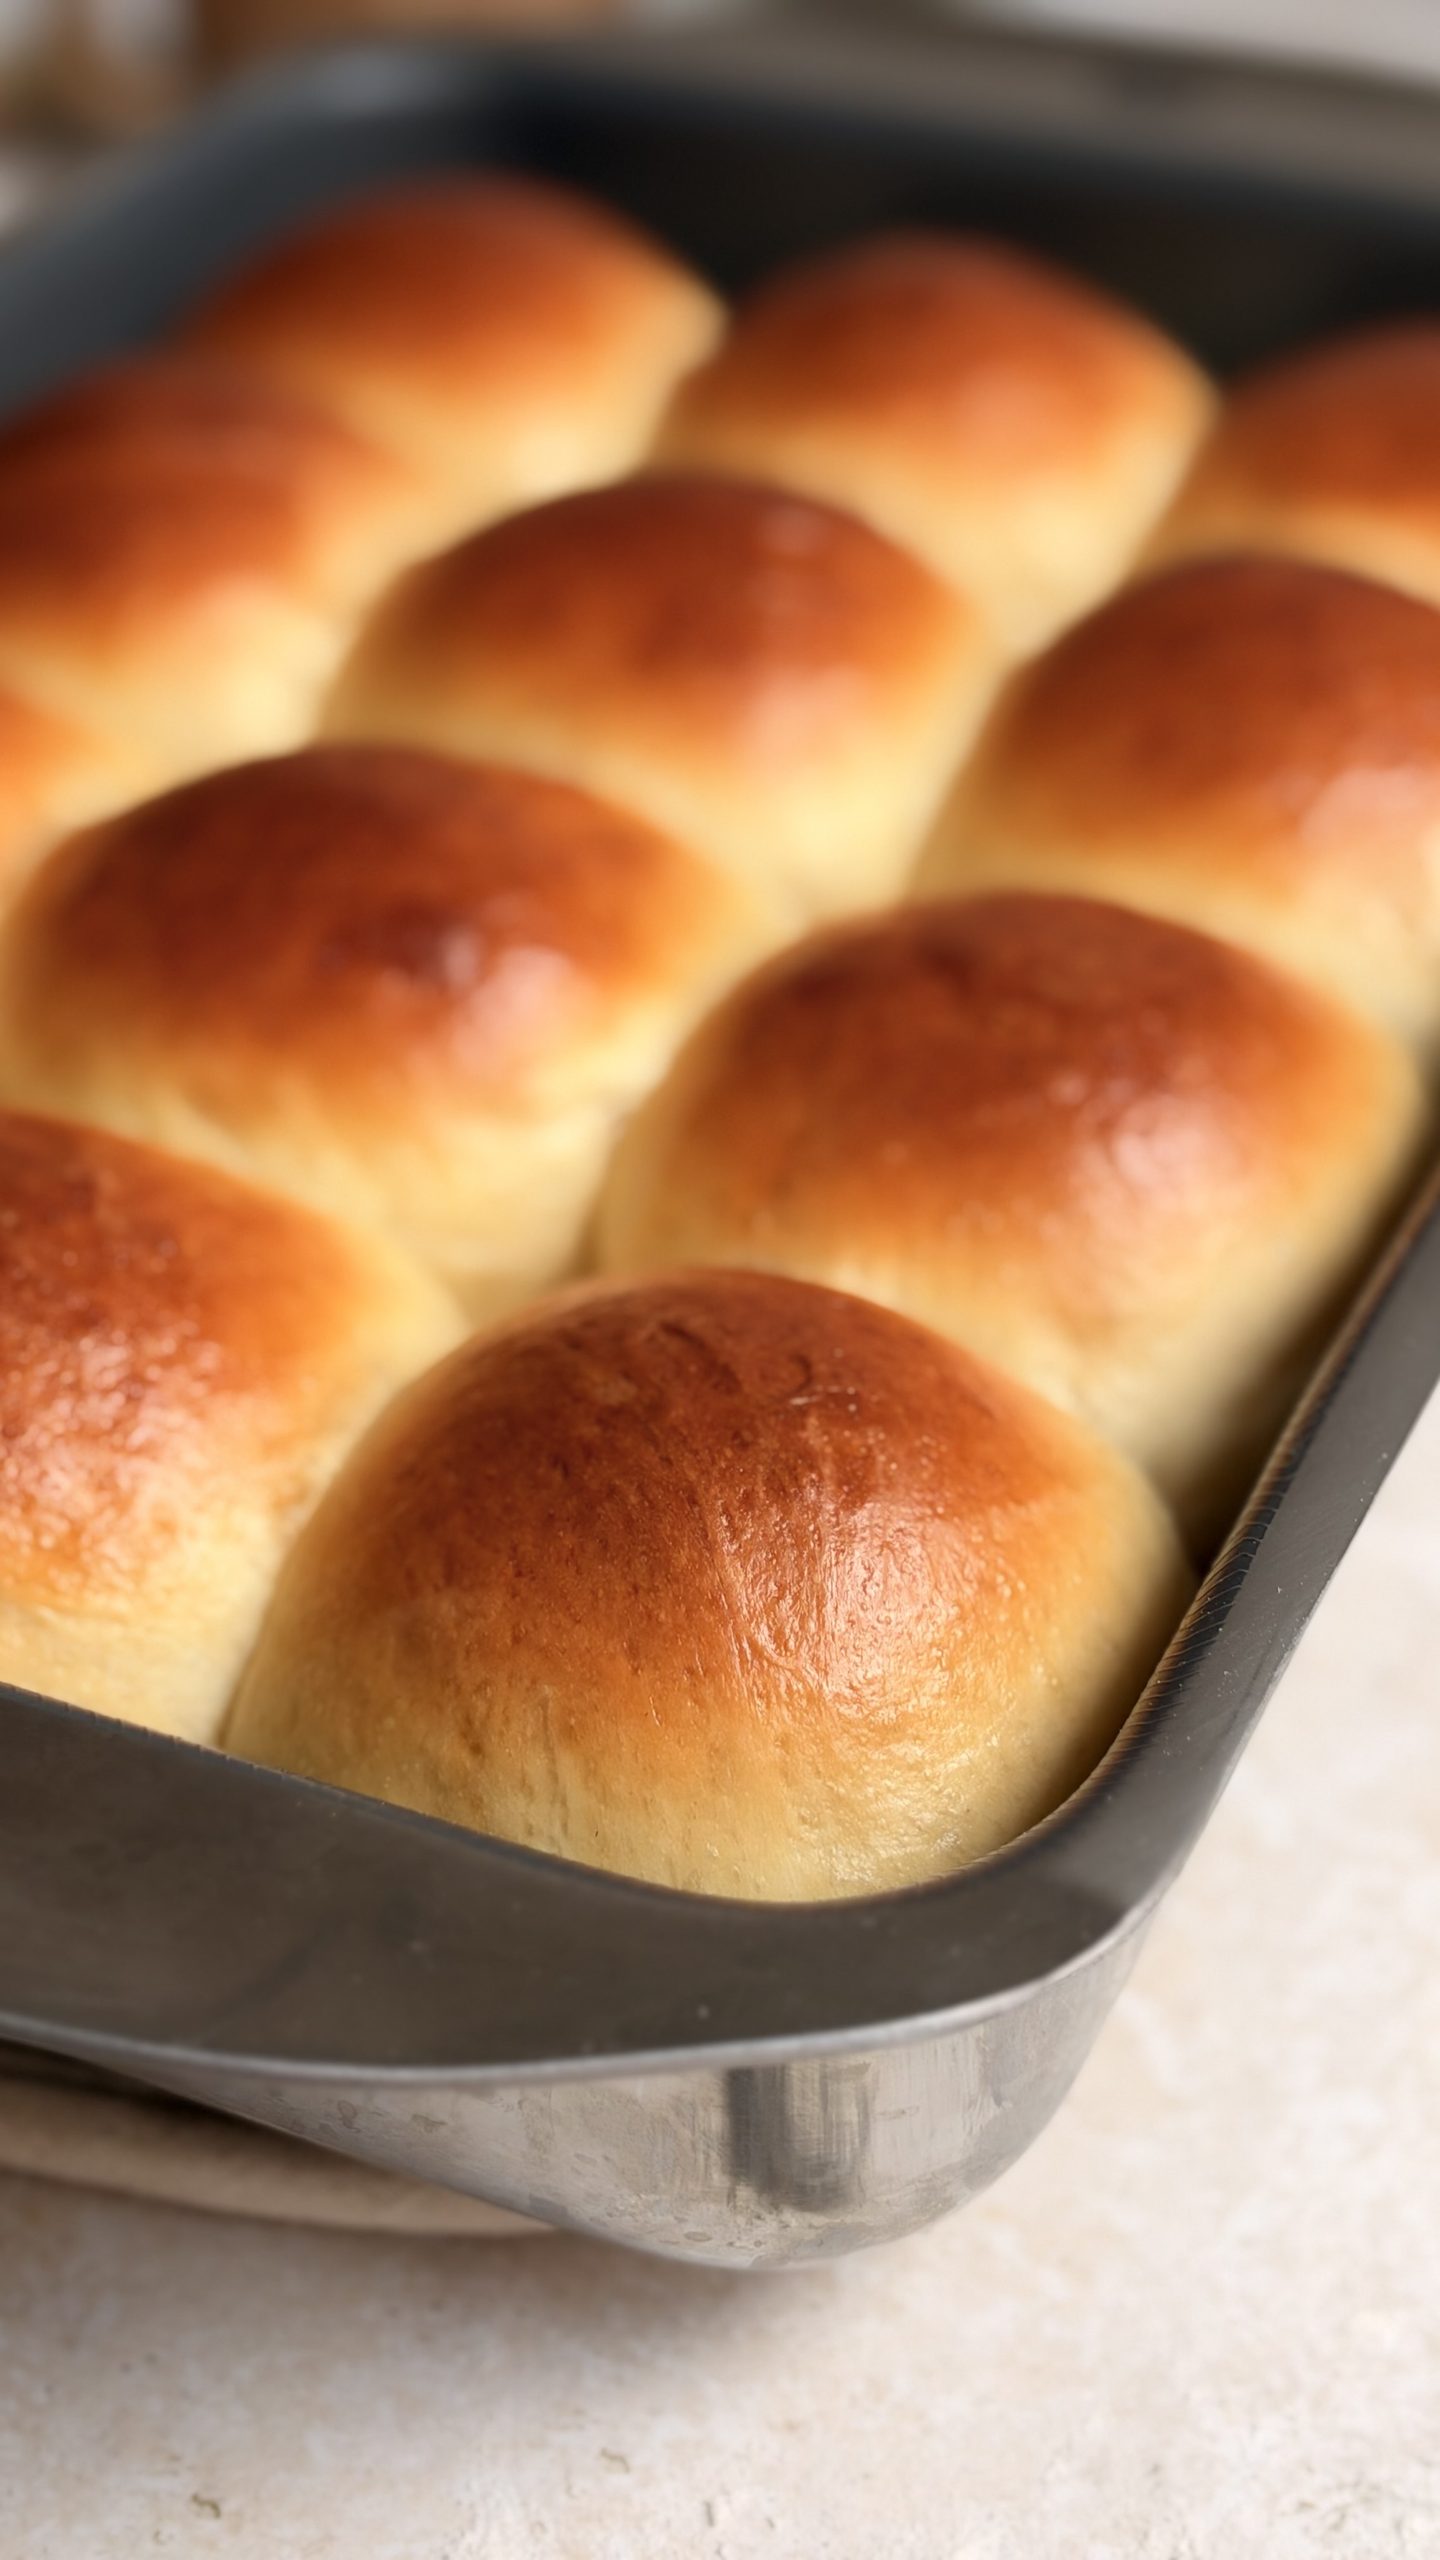
- Brush with melted butter immediately out of the oven – This step gives the rolls their glossy, golden finish and keeps the tops soft rather than forming a hard crust as they cool. Do it while they are still hot so the butter absorbs slightly into the surface rather than just sitting on top.
- Do the windowpane test – To check if your dough is properly kneaded, take a small piece and stretch it gently between your fingers. If it stretches thin enough to let light through without tearing, the gluten is well developed and the dough is ready. If it tears straight away, keep kneading.
- Knead the dough properly – The 10 to 12 minutes of kneading after the butter goes in is not optional. Proper kneading develops the gluten structure that gives these dinner rolls their signature soft, pillowy texture. The dough is ready when it is smooth, glossy and slightly tacky but pulls away cleanly from the sides of the bowl.
- Make sure your buttermilk is lukewarm – Temperature matters a lot when working with yeast. Lukewarm liquid activates the yeast properly and gets the dough rising at the right pace. Too cold and the yeast will be sluggish, too hot and you risk killing it entirely. Aim for around 38°C, warm enough that it feels comfortable on your wrist but not hot.
- Use bread flour if possible – Bread flour is highly recommended for this recipe because its higher protein content helps develop more gluten, giving the dough better stretch and elasticity. This creates soft, fluffy rolls with a lovely texture and slight chew. If you cannot find bread flour, all-purpose flour will also work, although the rolls may have a slightly different texture.
How to make Buttermilk Dinner Rolls?
The detailed recipe is included in the Full Recipe below. The following pictures and instructions will help you understand the process better visually.

Step 1: Prepare the buttermilk
Add 2 teaspoons of white vinegar to 1 cup of whole milk and stir gently. Leave it to rest for 5 to 10 minutes until it begins to curdle slightly. For a milder tang, you can use 1 teaspoon of vinegar instead.
Step 2: Warm the buttermilk
Gently warm the prepared buttermilk for about 15 seconds until lukewarm. Make sure it is not hot, as excessive heat can affect the yeast.
Step 3: Mix the dough
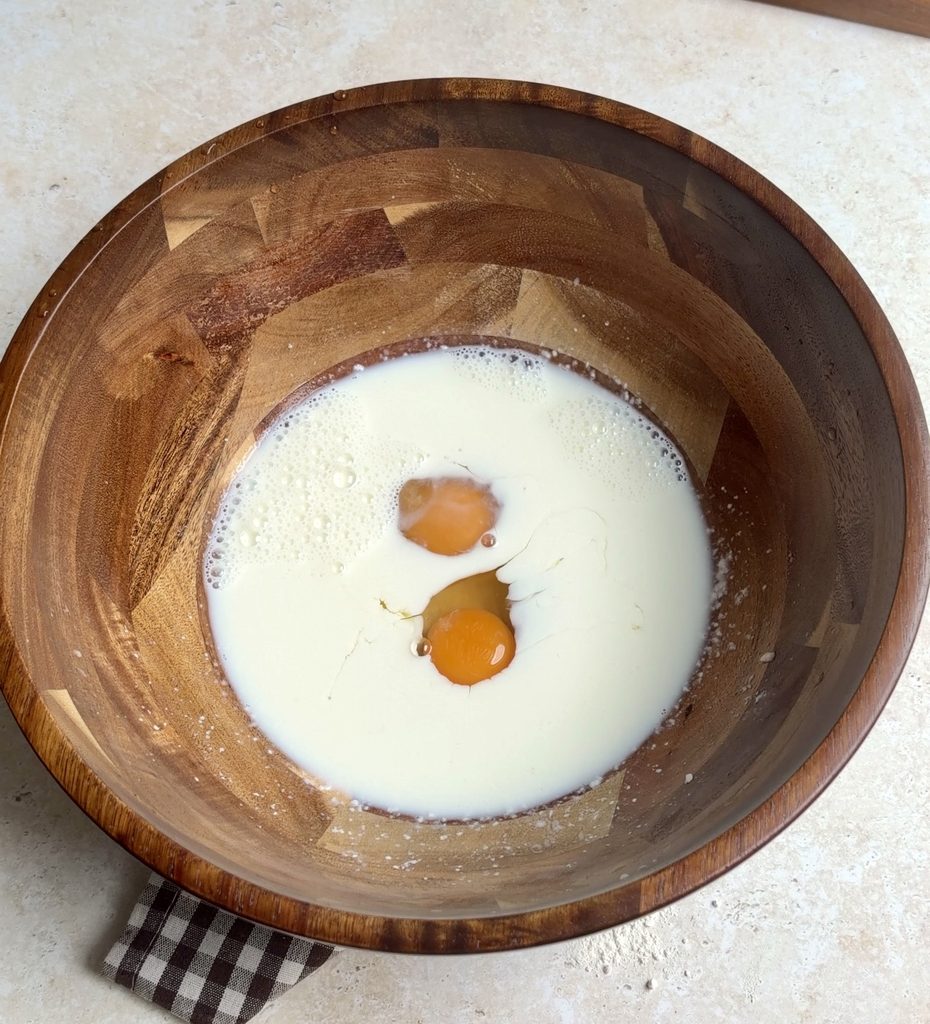
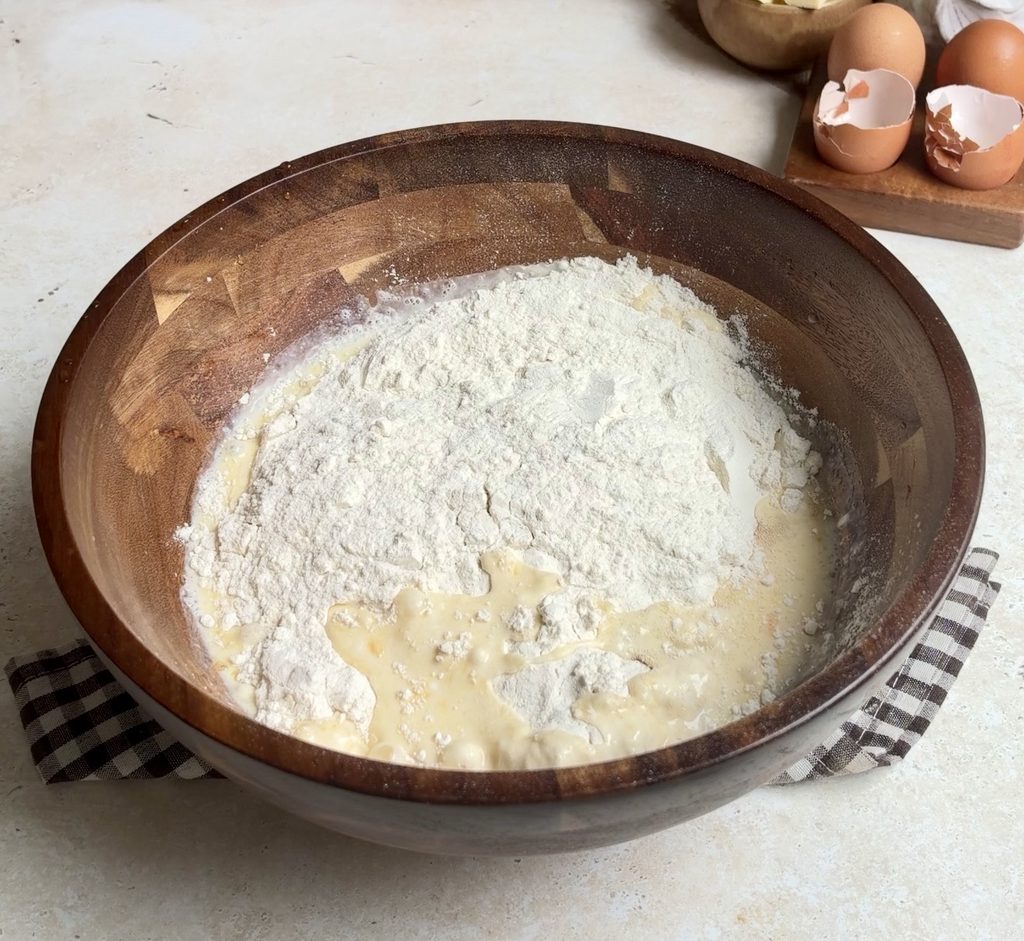
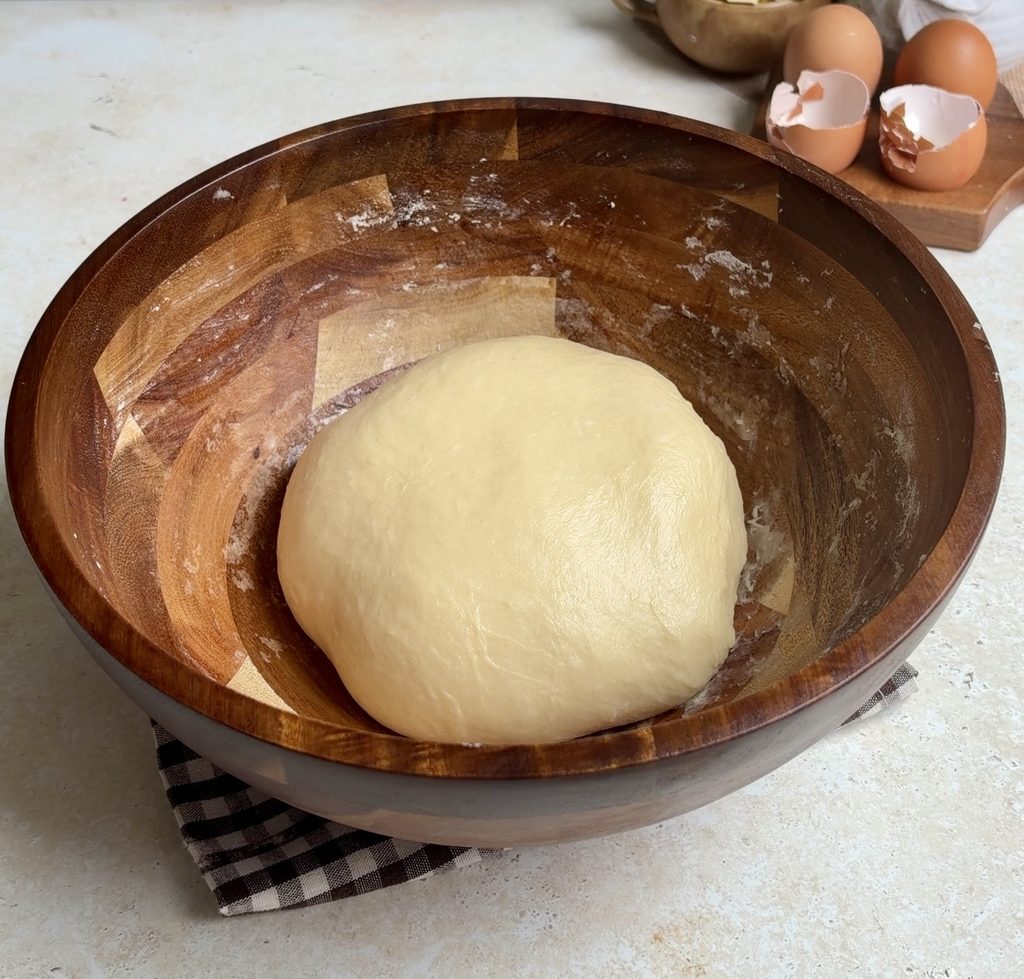
Add the lukewarm buttermilk and 2 eggs to a large mixing bowl. Add the flour, instant yeast, sugar and salt. Mix until everything comes together into a shaggy dough.
Step 4: Start kneading
Knead using a stand mixer fitted with a dough hook for about 4 minutes on low to medium speed, or knead by hand for approximately 8 minutes on a lightly floured surface.
Step 5: Incorporate the butter
Gradually add the softened butter, a few cubes at a time. Allow each addition to incorporate into the dough before adding more.
Step 6: Knead until smooth and elastic
Continue kneading for another 8 to 10 minutes in the mixer or 12 to 15 minutes by hand. The dough will feel sticky at first, but avoid adding too much extra flour. It should eventually become smooth, elastic and slightly tacky.
Step 7: Check the dough
Take a small piece of dough and gently stretch it between your fingers. It should form a thin, translucent membrane without tearing easily. If it tears, knead for another 2 minutes and test again. When kneading by hand, look for a smooth, elastic dough that stretches thinly before tearing and springs back slowly.
Step 8: First rise
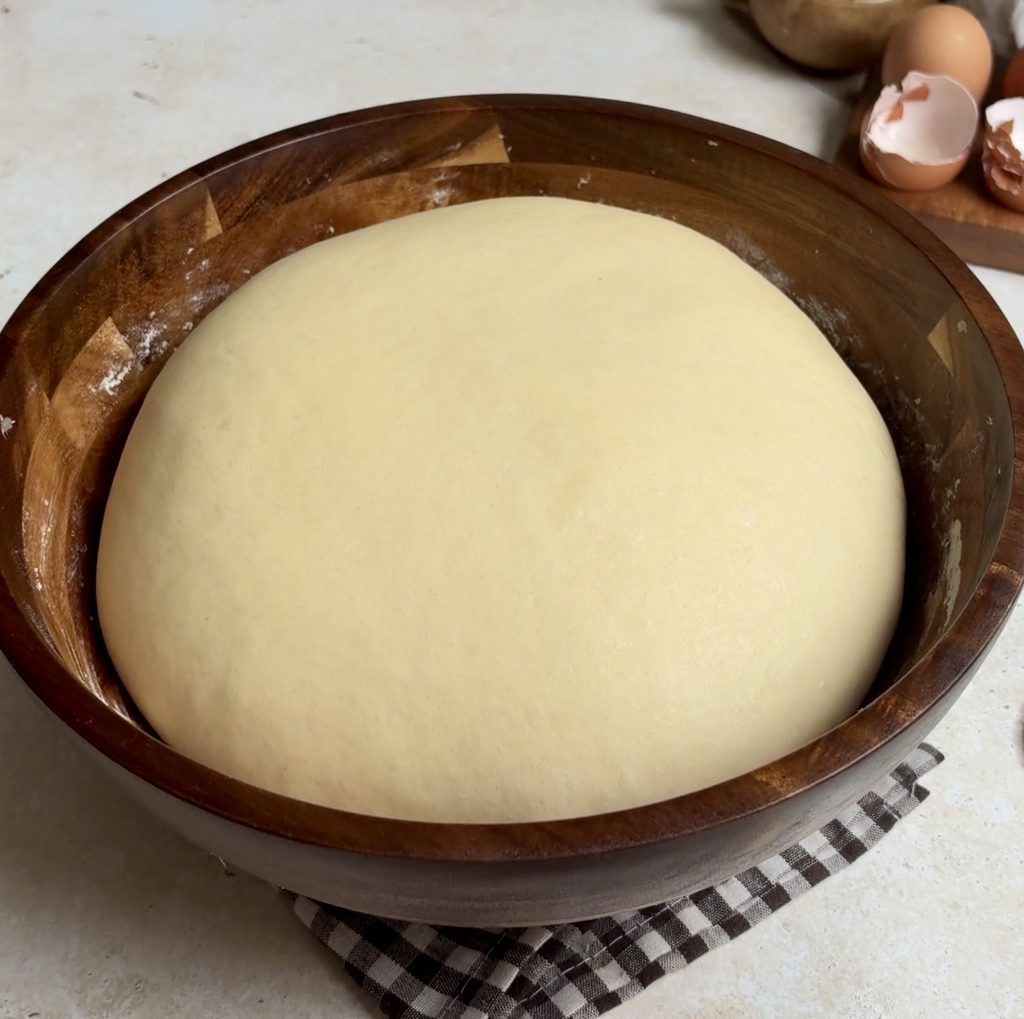
Transfer the dough to a lightly greased bowl. Cover and leave it in a warm place for approximately 1½ hours, or until it has doubled in size.
Step 9: Shape the Rolls
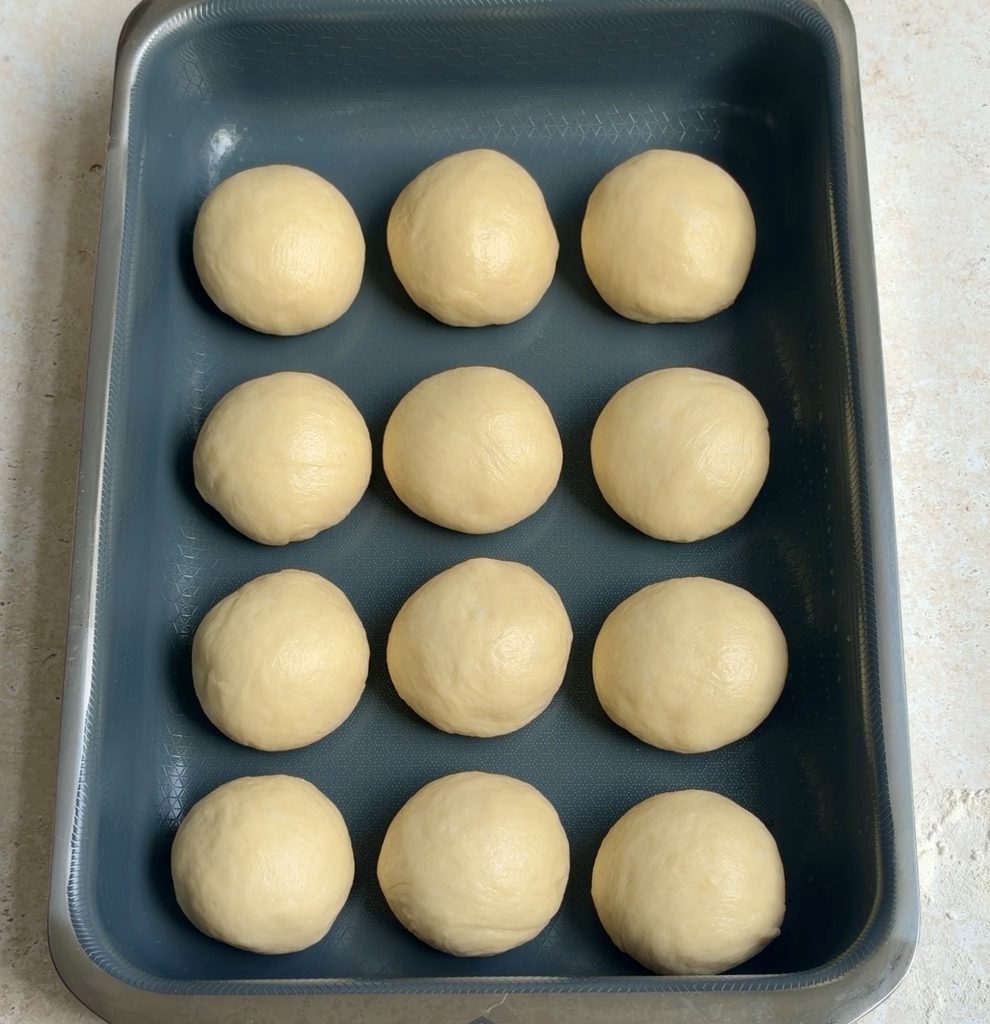
Gently deflate the dough and divide it into 12 equal portions, approximately 75 to 80 g each. Shape each portion into a smooth ball by tucking the edges underneath and rolling it gently between your palms.
Step 10: Arrange and Proof
Arrange the dough balls in a greased or parchment lined 9 x 13 inch baking dish, leaving a little space between them. Cover and let them rise for approximately 30 minutes, or until they look soft and puffy.
Step 11: Preheat the Oven
While the rolls are proofing, preheat your oven to 180°C (350°F).
Step 12: Prepare the Egg Wash
Whisk 1 egg with 1 tablespoon of milk until smooth. Gently brush the mixture over the tops of the risen rolls, taking care not to press down on the dough.
Step 13: Bake the Rolls
Bake at 180°C (350°F) for 25 to 30 minutes, until the rolls are deeply golden on top and fully cooked in the centre. If the tops begin browning too quickly after 15 to 20 minutes, loosely cover the dish with aluminium foil and continue baking.
Step 14: Check for Doneness
If you have a kitchen thermometer, the internal temperature of the rolls should reach approximately 88 to 93°C (190 to 200°F). This is an optional way to check that the centres are fully baked.
Step 15: Brush with Butter
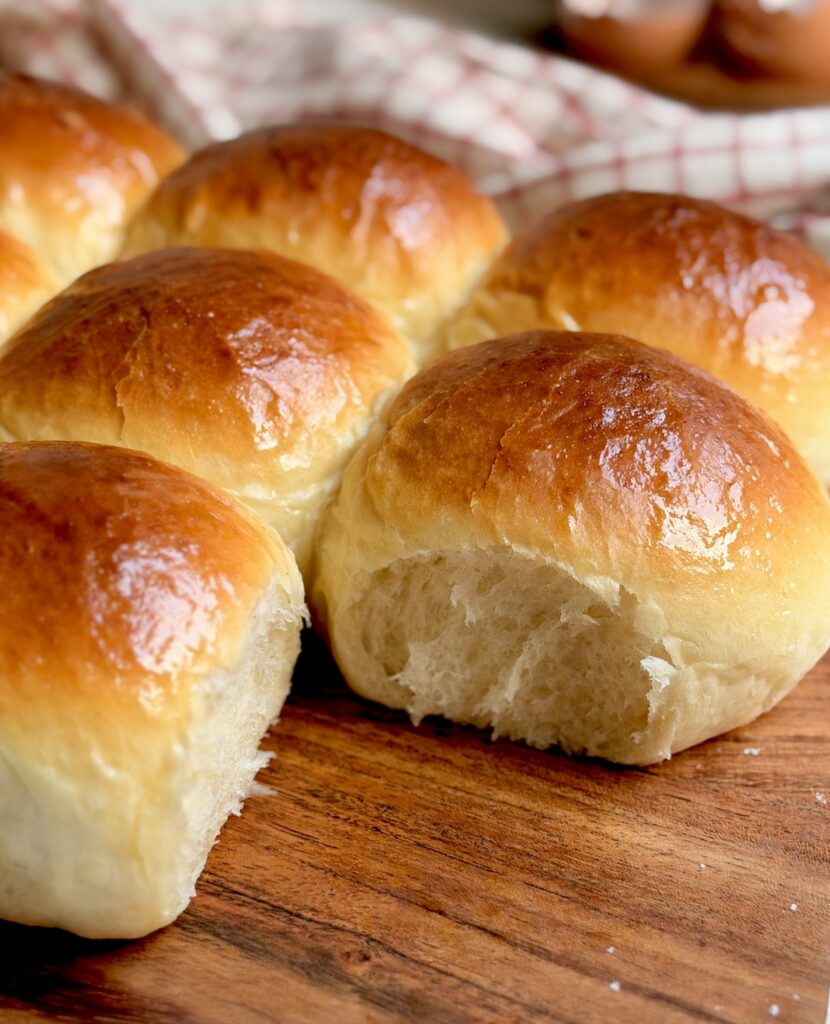
Remove the rolls from the oven and immediately brush the tops generously with melted butter. This gives them a beautiful shine and adds extra buttery flavour.
Step 16: Serve
Allow the rolls to cool slightly before serving. Enjoy them warm with butter or alongside your favourite meals.
Frequently Asked Questions
Can I make these buttermilk dinner rolls ahead of time?
Yes. You can prepare the dough up to the point of shaping, cover the tray tightly and refrigerate overnight for a slow cold rise. The next day, take the tray out about an hour before you want to bake to bring the rolls back to room temperature and let them finish proofing. Then egg wash and bake as usual. This is a great option for Thanksgiving or holiday dinners when oven time is precious.
Can I freeze these buttermilk dinner rolls?
Absolutely. Bake and cool completely, then freeze in an airtight bag for up to 2 months. To reheat, wrap loosely in foil and warm in a 160°C oven for 10 to 12 minutes. Brush with melted butter as soon as they come out and they will taste almost freshly baked.
Can I use all purpose flour instead of bread flour?
You can but the texture will be slightly different. Bread flour gives you a chewier, airier roll with more structure while all purpose flour produces a softer, more tender crumb. Both work but bread flour is strongly recommended for the best result with this particular recipe.
Can I substitute the buttermilk?
Yes. If you do not have buttermilk, make a quick substitute by adding one tablespoon of white vinegar or lemon juice to a measuring jug and topping up with regular whole milk to the 220ml mark. Leave it to sit for 5 minutes until it curdles slightly and use exactly as you would the buttermilk.
How do I store leftover buttermilk dinner rolls?
Store in an airtight container or zip lock bag at room temperature for up to 2 days. To refresh them, wrap in foil and warm in a low oven for 5 to 8 minutes or microwave individually for 15 to 20 seconds. A brush of melted butter after reheating brings them straight back to life.
Watch How to Make it!
Press play to see this recipe step by step. And don’t forget to subscribe for more baking videos!
Full Recipe
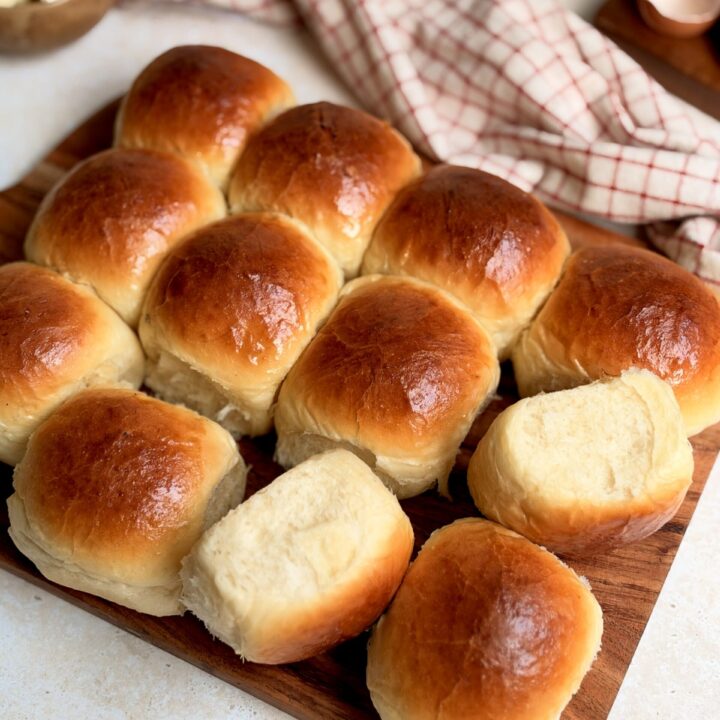
Buttermilk Dinner Rolls
These Buttermilk Dinner Rolls are light, fluffy and buttery, with a delicate golden crust and tender centres. Made with homemade buttermilk and enriched dough, they are perfect for family dinners, holiday gatherings or serving warm alongside your favourite meals.
Ingredients
- 4 cups bread flour (500g, If using all-purpose flour instead, reduce the buttermilk by exactly 2 tablespoons (30 ml) from the listed amount)
- 1/4 cup sugar (50g)
- 1 1/4 tsp salt
- 2 1/2 tsp instant yeast
- 240ml lukewarm buttermilk (2 tsp vinegar dissolved in 1 cup of milk)
- 2 large eggs
- 1/2 cup very soft cubed unsalted butter (113g)
Instructions
1. Add 2 teaspoons of white vinegar to 1 cup of whole milk and stir. Leave for 5 to 10 minutes until slightly curdled. For a milder tang, use 1 teaspoon of vinegar instead.
2. Warm the prepared buttermilk for about 15 seconds until lukewarm, making sure it is not hot.
3. Add the buttermilk and 2 eggs to a large mixing bowl. Add the flour, instant yeast, sugar and salt. Mix until a shaggy dough forms.
4. Knead with a stand mixer and dough hook for about 4 minutes on low to medium speed, or by hand for approximately 8 minutes.
5. Gradually add the softened butter, a few cubes at a time, allowing each addition to incorporate before adding more.
6. Continue kneading for 8 to 10 minutes in the mixer or 12 to 15 minutes by hand, until the dough becomes smooth, elastic and slightly tacky. Avoid adding too much extra flour.
7. Test the dough by stretching a small piece between your fingers. It should form a thin, translucent membrane without tearing easily. If it tears, knead for another 2 minutes and test again.
8. Transfer the dough to a lightly greased bowl, cover and leave in a warm place for approximately 1½ hours, or until doubled in size.
9. Gently deflate the dough and divide it into 12 equal portions, approximately 75 to 80 g each. Shape into smooth balls and arrange in a greased or parchment lined 9 x 13 inch baking dish.
10. Cover and let the rolls proof for approximately 30 minutes, or until soft and puffy. Meanwhile, preheat the oven to 180°C (350°F).
11. Whisk 1 egg with 1 tablespoon of milk. Gently brush the egg wash over the tops of the rolls.
12. Bake at 180°C (350°F) for 25 to 30 minutes, until deeply golden and cooked through. If the tops brown too quickly after 15 to 20 minutes, loosely cover with aluminium foil.
13. If using a kitchen thermometer, check that the internal temperature reaches approximately 88 to 93°C (190 to 200°F).
14. Remove from the oven and immediately brush the tops with melted butter. Allow the rolls to cool slightly before serving.
Notes
- Make sure the liquid is lukewarm, not hot, as high temperatures can kill the yeast and affect the dough's rise.
- Rising times may vary depending on your kitchen temperature. If your kitchen is cool, the first rise may take up to 2 hours. Look for the dough to double in size rather than relying on the exact time.
If you like Dinner Rolls recipes like these, you should definitely check out my:
1) No Knead Bread Rolls
2) Ciabatta Bread Rolls Recipe (Same Day)



Hello, I saw that you had another recipe for dinner rolls, but I cant see it on this website, im confused which one to try, buttermilk ones or the other ones? Pls respond quick x , also which techniques do you use to knead the dough by hand
Hello Zaineb, that was the same recipe but I changed the pictures this year. the old one might still be appeaeing in the archives.